
mismatched tanks make every Gebräu day a gamble. The fix is simple: match Wasserkocher, Fermenter, and controls to your goals, then dial in a clean, repeatable Brauprozess.
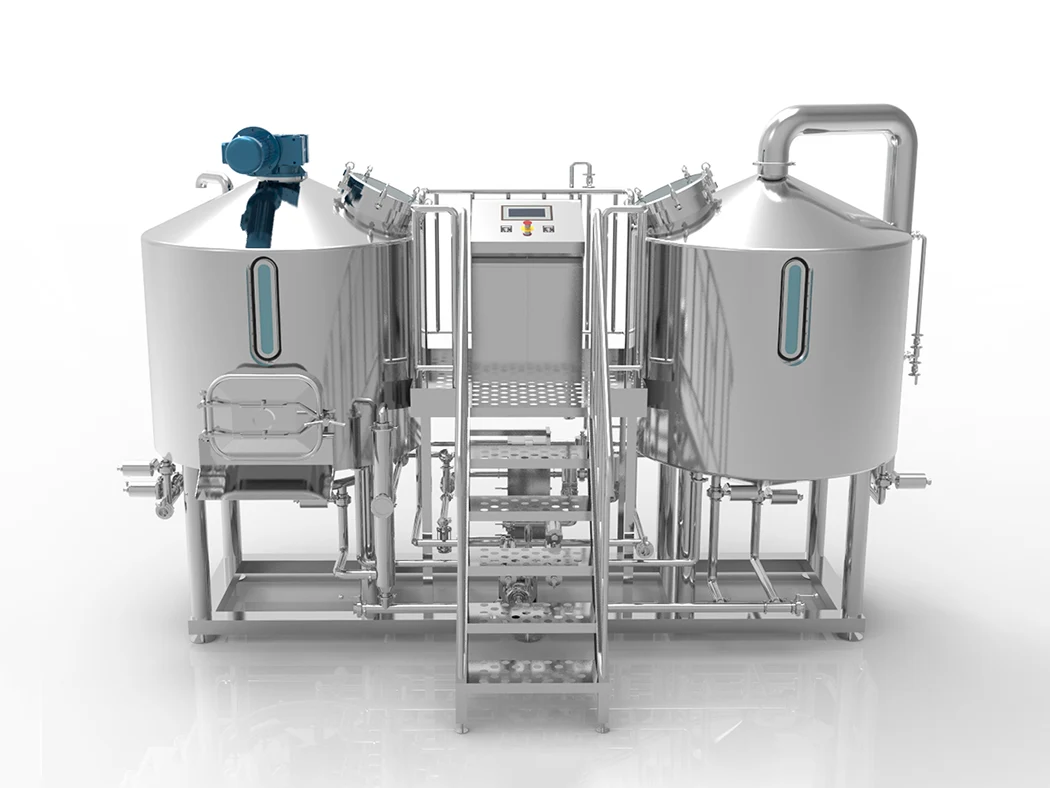
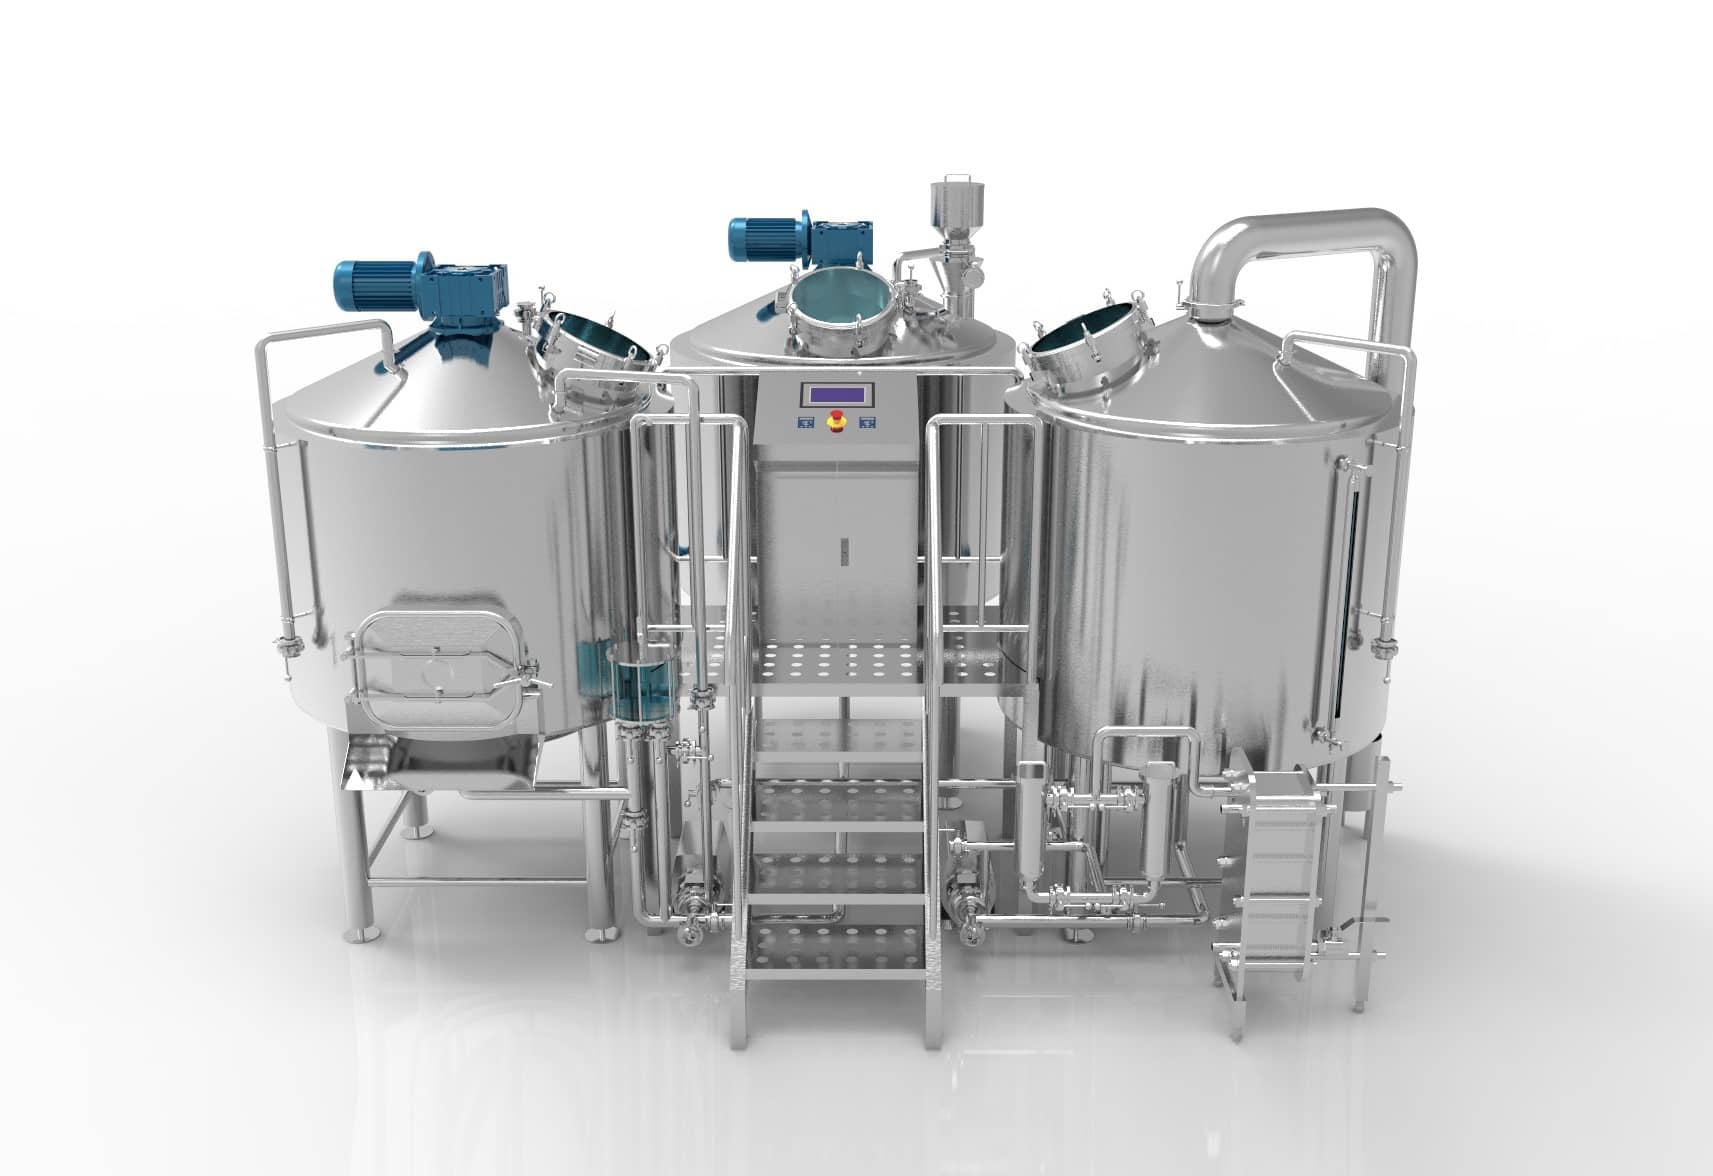
Craft brewing equipment is the end-to-end set of vessels, heaters, controls, and packaging tools that help you Gebräu consistently. Choose a sized Wasserkocher, a sanitary konisch Gärbehälter with temperature control, and packaging gear that fits your volume and plans. That’s how you make reliable Bier you’re proud to serve.
What size kettle fits your craft batches (3.5 bbl)
Sizing drives cost, time, and flavor. A 3.5 bbl Wasserkocher is a popular stepping stone for taprooms because it balances turn time with labor. It lets you Gebräu enough to stock taps while testing new Bier recipes. You won’t ever make only one beer at a time; kettle headspace and boil-off margin matter for a safe, steady Gebräu.
For trial runs and limited tap lists, consider a compact line like a Nano-Brauereianlagen platform that’s built for fast changeovers and quick cleaning.
Quick capacity guide (rule-of-thumb “chart”)
| Batch goal | Suggested kettle volume | Typical heating power | Target boil-off |
| Pilot recipes | 1–2 hl | 15–35 kW | 8–10%/h |
| Taproom core | 3–5 hl | 35–70 kW | 8–10%/h |
| Seasonal runs | 5–10 hl | 70–120 kW | 6–8%/h |
Tip. Keep lid off during boil, isolieren the shell for energy savings, and plan flue or vent paths on day one of Entwurf.

What size kettle fits your craft batches
Why a stainless conical fermenter improves Konsistenz?
A polished, sanitary stainless interior sheds trub and yeast more cleanly than plastic or bare steel. The steep cone concentrates sediment, so you can harvest yeast, clear the Bier, and transfer bright liquid. That one change is often the biggest flavor upgrade in a small Brauerei.
Add a glycol Jacke and tight control of Gärtemperatur and you’ll see steadier attenuation and fewer off-notes. A modern stainless steel conical fermenter with sample valves and PRV keeps oxygen away and gives you repeatable Gebräu days from pitch to package.
Electric brewing or burner heat—what’s right for your shop?
Elektrisches Brauen shines in tight urban spaces: clean, quiet, and easy to meter. It pairs well with programmable controls and makes step mashes simple and efficient. Gas burner systems excel when energy is cheap and venting is easy in your Shop. They heat faster in larger diameters and are easier to service in places with limited electricians.
If you plan to scale core brands, explore an electric beer brewing line so you can automate heat ramps and hold points without babysitting the boil. Size breakers now so future growth is painless.
Was ist ein unitank, and when should a brauer upgrade?
A unitank lets you ferment, carb, and serve out of the same tank. Fewer transfers mean lower oxygen and stronger shelf life. If you’re adding a lager program or want to streamline carbonation, a unitank is the next logical upgrade after your first kit.
When you move to split-batch trials or filtered service, pair your vessel set with a dedicated bright beer tank to keep service clear and keg turns quick.
All-grain workflow: grain mill → Maische control → Hopfen timing
In , control starts at the Getreidemühle. Aim for an even crush that lifts extract without stuck sparges. In the Maische, hold rests tightly—protein, sacch, and mash-out windows define body and finish. Then time your Hopfen charges (early for bitterness, late for aroma) to lock in balance.
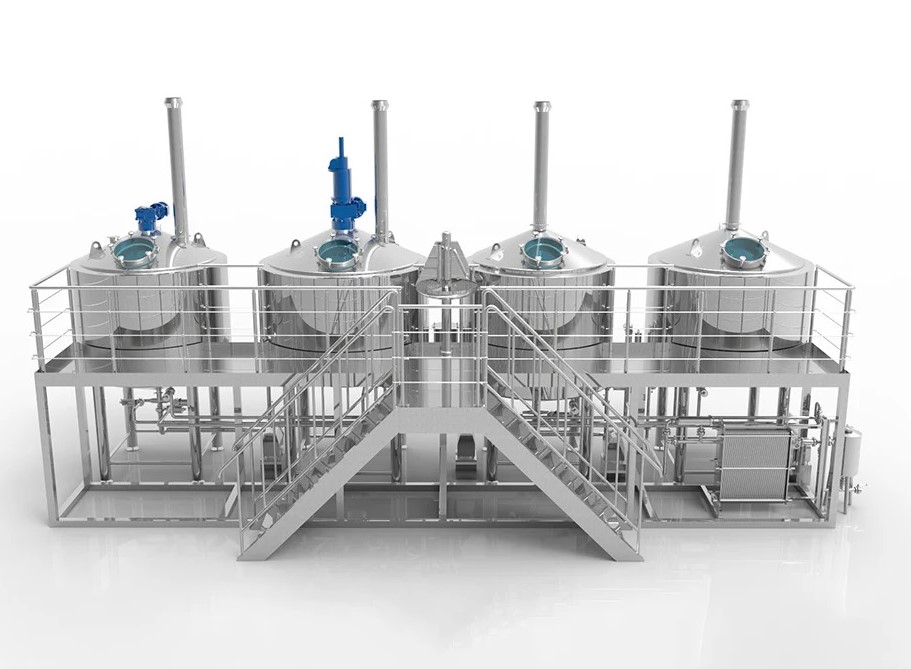
Scale-ready brewers often move from hobby rigs to professional skids like Mikrobrauerei-Ausrüstung that bring better piping layout and heat stability. Use one precise recipe sheet per batch and track gravity points and pH. You’ll taste the gain as you Gebräu.
“Good wort makes good Bier. Fermentations don’t fix hot-side mistakes; they just reveal them.”
Table: simple mash rest guide
| Goal | Temperatur | Zeit |
| Body & foam | 50–55 °C | 10–15 min |
| Fermentable wort | 63–66 °C | 30–45 min |
| Balance & finish | 68–70 °C | 15–20 min |
| Mash-out | 75–78 °C | 10 min |
Finish the hot side by checking clarity of beer using a quick glass test. Then move to the cold side smooth and confident.

Fermentation control: controller, cooling, and CIP you’ll actually use
Stable cold-side control is where quality repeats. Use a digital controller to hold setpoints within ±0.5 °C and log curves for trend checks. Jacketed tanks plus glycol let you crash, diacetyl rest, and schedule turns on time. Target one system for all tanks so training sticks fast.
Sanitation is non-negotiable. A proper cip loop (spray balls, pump, and return) cleans tanks in place and protects your next starter from unwanted microbes. If you also brew tea-based drinks, look at kombucha brewing vessel options that share hygienic piping and easy-rinse layouts.
Verpackung: bottle, cans, and kegging without drama
Packaging turns liquid into a sellable product. Keep O₂ low, CO₂ stable, and lines cold. For taproom-first plans, keep manual tools for kegging and a bench capper for small bottle runs. When volumes grow, spec rinser/filler/capper trains that match your cellaring rhythm.
Start with an expandable line like a compact beer bottling machine that can later add canning heads. Build in DO checks and quick-swap change parts so you can Gebräu specials on short notice. Don’t forget a small quality-lab tool—a DO meter saves dumps.

Beyond Bier: crossover gear for wine making and spirits
Many tanks and pumps do double duty. Tri-clamp piping, smooth welds, and sanitary valves help whether you rack stout or crush grapes. If your room serves both beverage lines, choose professional-grade fittings, then color-code hoses and dedicate transfer paths for a clean Shop.
If your business plan includes tastings or a mixed menu, a winery package like Ausrüstung für die Weinherstellung keeps workflows organized and safe. A compact nano brewhouse beside a small still or barrel corner makes space hum with variety.
Simple planning framework (save this)
- Goals
- Flag core brands; don’t scale experiments too early.
- Write one-page specs for every kitand vessel.
- Essentials
- Größe Wasserkocherto your tap count.
- Choose one piping scheme and keep it weldlesswhere you truly need tool-free service.
- Kaufen accessoryitems once, not twice.
- Proof
- Track gravity and temperature.
- Record cleaning cycles and gaskets replaced.
- Action
- Map your next quarter by tank turns, not wish lists.
- Book installation windows so power and water supplyare ready.
Starter path: from homebrew to pilot runs
If you’re learning how to brew beer, begin small. Build a yeast starter culture, keep notes, and run side-by-side trials. When you’re learning how to make beer, choose top-rated home brewing guides and Heimbrauen clubs for quick feedback. Then bring those habits to your first pilot Gebräu day in a pro space.
You can learn how to make beer at home and then make beer at scale by choosing Ausrüstung zum Brauen zu Hause that mirrors pro layout: hot-liquor tank, mash/lauter, boil, and chiller. That way, the jump to skid-mounted gear feels natural.
If you still Bierherstellung in the garage, keep beer making kits handy for trying new grains and hops without rewriting your SOPs. Move to high quality brewing hardware as you grow.
FAQs
What’s the fastest upgrade with the biggest quality lift?
A konisch Gärbehälter with temperature control. Cold-side stability improves flavor, shelf life, and clarity.
Should I choose gas or electric heat?
Pick electric brewing if noise control or emissions matter; choose gas burner rigs when venting is easy and you want rapid heat in larger pots.
How do I keep oxygen low during transfers?
Purge lines and tanks with CO₂, pressure-transfer whenever possible, and add a dedicated bright beer tank for final holds.
What fittings are easiest to maintain?
Tri-clamp with minimal threads. Use weldless connectors only where you must disassemble quickly.
How do I scale from pilot to production?
Mirror pro flow on your pilot skid, then move to Mikrobrauerei-Ausrüstung oder Nano-Brauereianlagen with the same valve logic and hose paths.
Can I package both bottles and cans with one line?
Yes—start with a flexible beer bottling machine and add can modules as demand grows.
Source-backed pointers and field notes
- “Fermentation doesn’t fix hot-side mistakes” is a common maxim repeated in pro training and guild workshops; you’ll hear it from technical brewing texts and apprenticeship programs alike.
- Typical boil-off of 6–10%/h is a widespread rule-of-thumb used for sizing steam or electric duty.
- The internal links to pilot/pro platforms (nano/micro/commercial, tanks, and packaging) reflect common gear pathways for small producers and mixed beverage rooms.
Keep these in mind
- Match Wasserkochersize to tap count and brew schedule.
- Pick sanitary tanks with cooling—and use cipevery time.
- Kontrolle Gärtemperaturtightly with a reliable controller.
- Plan packaging early; a small filler beats hand-capping chaos.
- Choose pro-grade piping; go weldlessonly where fast teardown matters.
- Build one clean SOP for the whole Gebräupath and stick to it.
Helpful internal resources to explore next
- Pilot-friendly Nano-Brauereianlagenfor fast R&D.
- Scalable Mikrobrauerei-Ausrüstungfor growing taprooms.
- Hygienisch stainless steel conical fermenter
- Flexibel electric beer brewinglines for quiet installs.
- Expandable beer bottling machinefor small packaging rooms.
- Mixed-program Ausrüstung für die Weinherstellungfor crossover spaces.
Notes on terms for clarity and learning
This guide used plain language to support readers who Gebräu at different scales—some at beer at home level, others in kommerziell spaces. We referenced home brewing supplies Und home brewers briefly to connect early practice to pro rooms. Wherever possible, we avoided jargon and explained the how and why behind Bierbrauausrüstung choices.
Final checklist
- Brewplan: written and shared
- Heat path: electric or gas burner, locked in
- Tanks: cone angle chosen, Jackespec set
- Controls: controllertested