Dirty vessels spoil beer. Film and soils hide in shadows. Skip one step and flavor drifts. Follow this short, repeatable plan to clean, サニタイズ, and protect your tank so every batch stays true.
Remove residue, wash with an alkaline cleaner, rinse thoroughly, then サニタイズ with a no-rinse acid. Finish with passivation to rebuild the protective film and prevent corrosion. This 清掃と消毒 loop—done right before pitching—keeps surfaces ready for 麦汁 and stable flavor.
Why initial cleaning matters for new stainless equipment
Brand-new metal can shine, yet new stainless equipment often carries trace oils and organic material from fabrication. A focused initial cleaning removes shop film so the shell is thoroughly cleaned before the first 醸造. If this is your first ステンレス製発酵槽, treat it like commissioning, not a quick wipe.
Start with warm water, a touch of dish soap on exterior surfaces, and a gentle, non-abrasive scrubber inside. Then run a light acid wash so the oxide layer forms evenly. That step can prevent corrosion later and makes it easier to keep your equipment consistent. For layout and port ideas that make cleaning easier, see this reference on commissioning a stainless steel fermenter.
What tools and cleaning agents should I prepare on brew day?
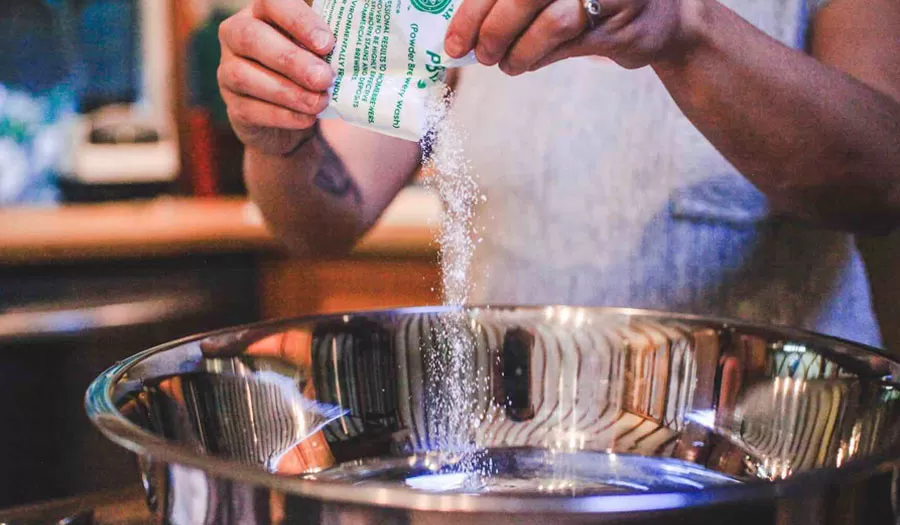
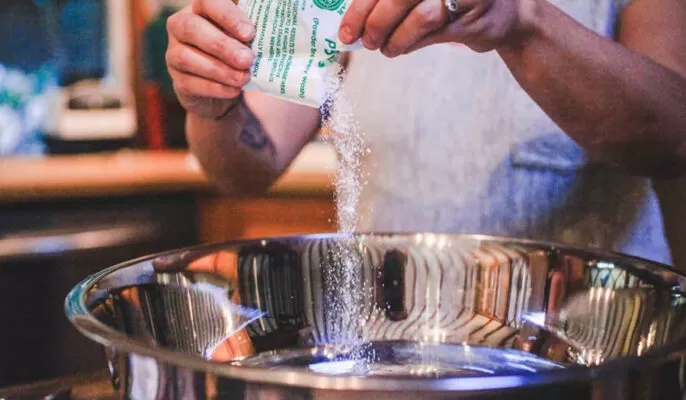
Stock PBW (pbw) or another oxygenated cleaner, plus alkaline detergents for greasy soils. Keep percarbonate そして sodium carbonate for lift, while sodium hydroxide stays reserved for trained operators only. Measure small doses with a tsp; some teams keep a bottle of trisodium phosphate. Always choose food grade products and PPE.
Hardware: soft scrubbing pads, a nylon scrub, a flexible ホース, spare gasket sets, and a bright flashlight. A short card helps a new 醸造家 follow steps. For an efficient small-cellar setup that speeds cleaning, review this micro craft system equipment checklist and adapt it to your room.
Quick selector
| Soil | First step | 次のステップ |
|---|---|---|
| Light residue | Warm water + oxygenated wash | Visual check under light |
| Heavier soils | Controlled alkaline cycle | Move on when return flow is clear |
| Mineral deposits | Switch to acid phase | Dry, close ports, stage sanitizer |
“A tidy cart beats any complicated chemistry plan.”
CIP or hand work: which way should I clean in my brewhouse?
If your vessel has a spray ball and drains, clean-in-place (CIP) saves time and keeps people off ladders. Circulate warm solution ~20 minutes, then rinse. If you hand clean, let chemistry work first, then add a little elbow grease with nylon only.
For small tanks, many teams run CIP weekly and hand clean between runs. This rhythm supports the 醸造工程 without slowing production, and it frees time to focus on the next 醸造 での 醸造所.
How do I remove residue, beer stone, and mineral scale safely?
Protein residue and hop films cling to interior surfaces. Start with a warm alkaline wash and patient contact. For gray crusts or crystals, identify whether it’s beer stone または beerstone. Both respond to a cool acid solution with brewery-approved acid cleaners.
Begin with citric acid; step up to phosphoric acid if a faint ring remains. On the outside only, a tiny dot of bkf on a damp cloth can lift smudges. For layouts that minimize dead legs and shorten lines, browse this small-batch nano brewery setup.
Passivation: when and how to passivate stainless for long life
不動態化 rebuilds the protective oxide layer that helps ステンレス鋼 resist stains. After a heavy descale—or a rough season—schedule a short cycle using an acid to condition the surface; then drain and air dry, and the tank is passivated.
You can also plan to passivate stainless after major maintenance. The alloy’s chromium and nickel support film formation and help prevent corrosion when oxygen is present. Done well, passivation extends intervals between deep cycles and keeps SS fittings bright.
What should I avoid: bleach, abrasive pads, and steel wool?
Chlorine is not your friend in a cellar. Use bleach only on floors or plastics; sodium hypochlorite bleach attacks metals and can corrode welds. In fact, bleach can cause pits and cracks over time. Skip abrasive scouring and never touch steel wool—both seed rust and trigger pitting corrosion.
When you must spot-polish the shell, work the outside with mild detergents and a soft cloth; stainless is easy to polish if you stay gentle. For finishes that resist scratches from day one, see commercial brewing equipment finishes.
Reminder: many household cleaning products aren’t designed for tanks and can damage your equipment. Stick with labeled supplies and clear SOPs.
Small parts and hidden areas: valves, gaskets, and ports
Little parts hide soils. Pull the sample バルブ, remove each gasket, and soak while the tank cycles. Direct the ホース through racking arms and thermowells, then rinse. Inside, let chemistry dwell rather than hard scrub—nylon wins.
Outside, wipe fingerprints and dry the shell. Inside, check for rings after the first rinse; repeat the wash once if needed before moving to sanitizing your equipment. A single ケトル splash on the shell is best cleaned outside the tank to avoid re-deposits.
How should I sanitize right before transfer (no-rinse options)?
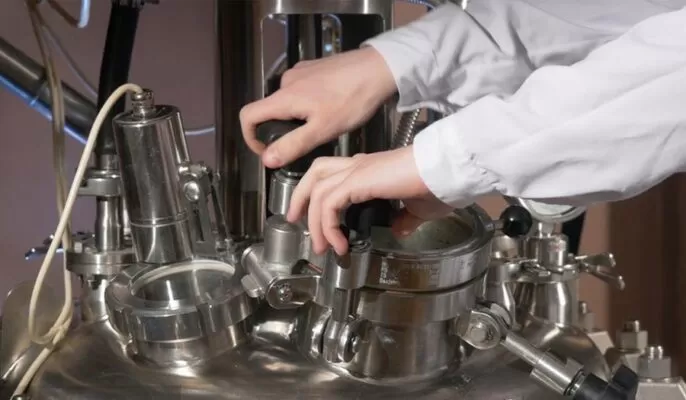
Once the vessel is clean, it’s time to サニタイズ. Choose a labeled no-rinse product such as star san または starsan にとって stainless-steel equipment. Foam is good; it shows contact. Mist manways, ports, and racking arms, and hold the label contact time. Drain, close, and you’re 衛生的 for transfer.
If you run mixed cultures or tea fermentations, this compact guide helps match steps to that world: sanitizing mixed-culture kombucha vessels.
A simple cleaning regimen for homebrewing and production teams
Write a short cleaning regimen everyone can follow. For 自家醸: pre-rinse, wash, rinse, サニタイズ, close. For a busy 醸造所, post a weekly chart that includes regular cleaning, an occasional mineral-removal day, and scheduled chemical cleaning after heavy hops.
として 醸造家, you don’t need complex tools; you need steps you trust. Clean your equipment the same way each time to ensure the quality of results, and design 醸造設備 so ports and sight lines are easy to reach. (That’s true whether you’re scaling from homebrew carboy days or running a 20-hectoliter cellar.)
Troubleshooting and FAQs
My tank still has a smell—why?
Hidden soils live under gasket lips, inside a バルブ, and at the racking arm. Disassemble, soak, brush, and rinse thoroughly before you サニタイズ.
Can I jump straight to strong caustic?
Reserve strong cycles for rare jobs; keep sodium hydroxide for trained operators. Most soils lift with oxygenated blends and time.
Is a little phosphate helpful in cleaners?
Some blends include a touch of phosphate for wetting, but many modern products don’t rely on it. Follow label directions.
What about SS clamps and fittings?
Rinse, dry, and store SS tri-clamps off the floor. Pair stainless equipment with non-shedding brushes.
Small-tank reality check?
From carboy days to conicals, many teams run a “rinse–wash–rinse–sanitize” loop. Owners of a popular ブリューテック chronical report great results with periodic cycles and gentle hand work. For wine SOP ideas and cross-category notes, see stainless steel wine fermenter care.
Quick table: soils vs. best first move
| Soil | First step | 次のステップ |
|---|---|---|
| Proteins/hops | Warm wash, patient contact | Visual check under light |
| Mineral scale | Controlled acid phase | Repeat once if needed |
| Outside smudges | Gentle wipe | Light spot polish |
“Simple, repeatable cleaning keeps flavor stable and downtime low.”
Bullet-point recap (save or pin)
- Pre-rinse, wash, rinse, サニタイズ, and schedule passivation—these steps protect ステンレス鋼.
- Avoid chlorine, abrasive tools, and steel wool; they scar surfaces and risk pitting corrosion.
- Disassemble small parts; ports and バルブ seats hide soils.
- を選択する。 no-rinse sanitizer right before transfer.
- Document and train on a clear SOP so results stay consistent.
We design tanks and lines that clean fast, reduce chemicals, and fit your space—from pilot to production. If you’re mapping your cellar, the internal references above (fermenters, micro/nano systems, kombucha, winery vessels) help you benchmark features and plan upgrades.

