Beer Production Process for Small Breweries: How to Brew Craft Beer Step by Step
25 Jul
New brewers often burn precious capital on trial-and-error. Agitate: Every off-flavor, every stalled ferment, every foaming keg chips away at margins and reputation. Solution: Master the complete, step-by-step brew pathway below—then scale confidently with turnkey systems from experienced equipment partners.
The beer production process for small breweries follows eight core stages—mill, mash, lauter, boil, whirlpool, cool, ferment, condition—turning malted grain into clear, flavorful craft beer. Precise temperature control, sanitary stainless vessels, and optimized yeast cell count ensure repeatable quality while keeping costs low for brewing smaller batches.
Brewing process flowchart
Outline
What does a small brewery need before the first brew? (planning, cell count, recipe design)
How do you mill malt and build a balanced grist for the mash?
The mashing process: infusion mashing vs decoction mashing—what’s best for your beer style?
Lautering, sparging, and the wort separation process: getting clear wort without stuck runoff
Boiling process, hops, isomerization, and alpha acid management: controlling bitterness and flavor and aroma
Whirlpooling, removing trub, and rapid cooling with a heat exchanger
Pitching yeast and managing the fermentation process: ale, lager, and when to ferment warm or cold
From green beer to finished beer: conditioning process, carbonation, and bright tanks
Packaging decisions for small breweries: bottle, keg, or can—and how to rinse, sterilize, and maintain final beer quality
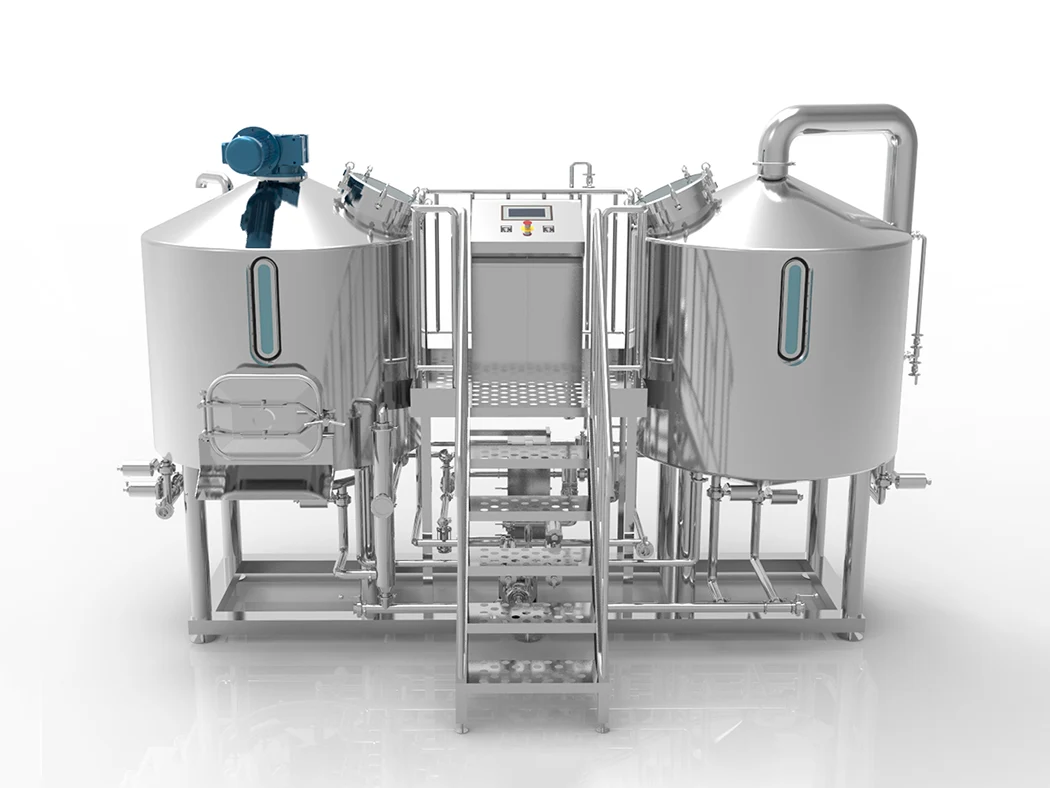
Brewing smaller batches efficiently: choosing the right brew kettle, lauter tun, and fermenter
FAQs
Key takeaways (bullet summary)
1. What does a small brewery need before the first brew? (planning, cell count, recipe design)
Launching a small brewery means more than buying a brew kettle and a fermenter. You need a solid plan: the recipe, the grain bill, hop varieties, yeast cell count targets, and a sense of the production process timeline. We start with basic brewing principles—know each ingredient’s role and how different steps affect taste of beer. According to the Brewers Association, consistent procedures are a top factor in the production of beer quality. (Brewers Association)
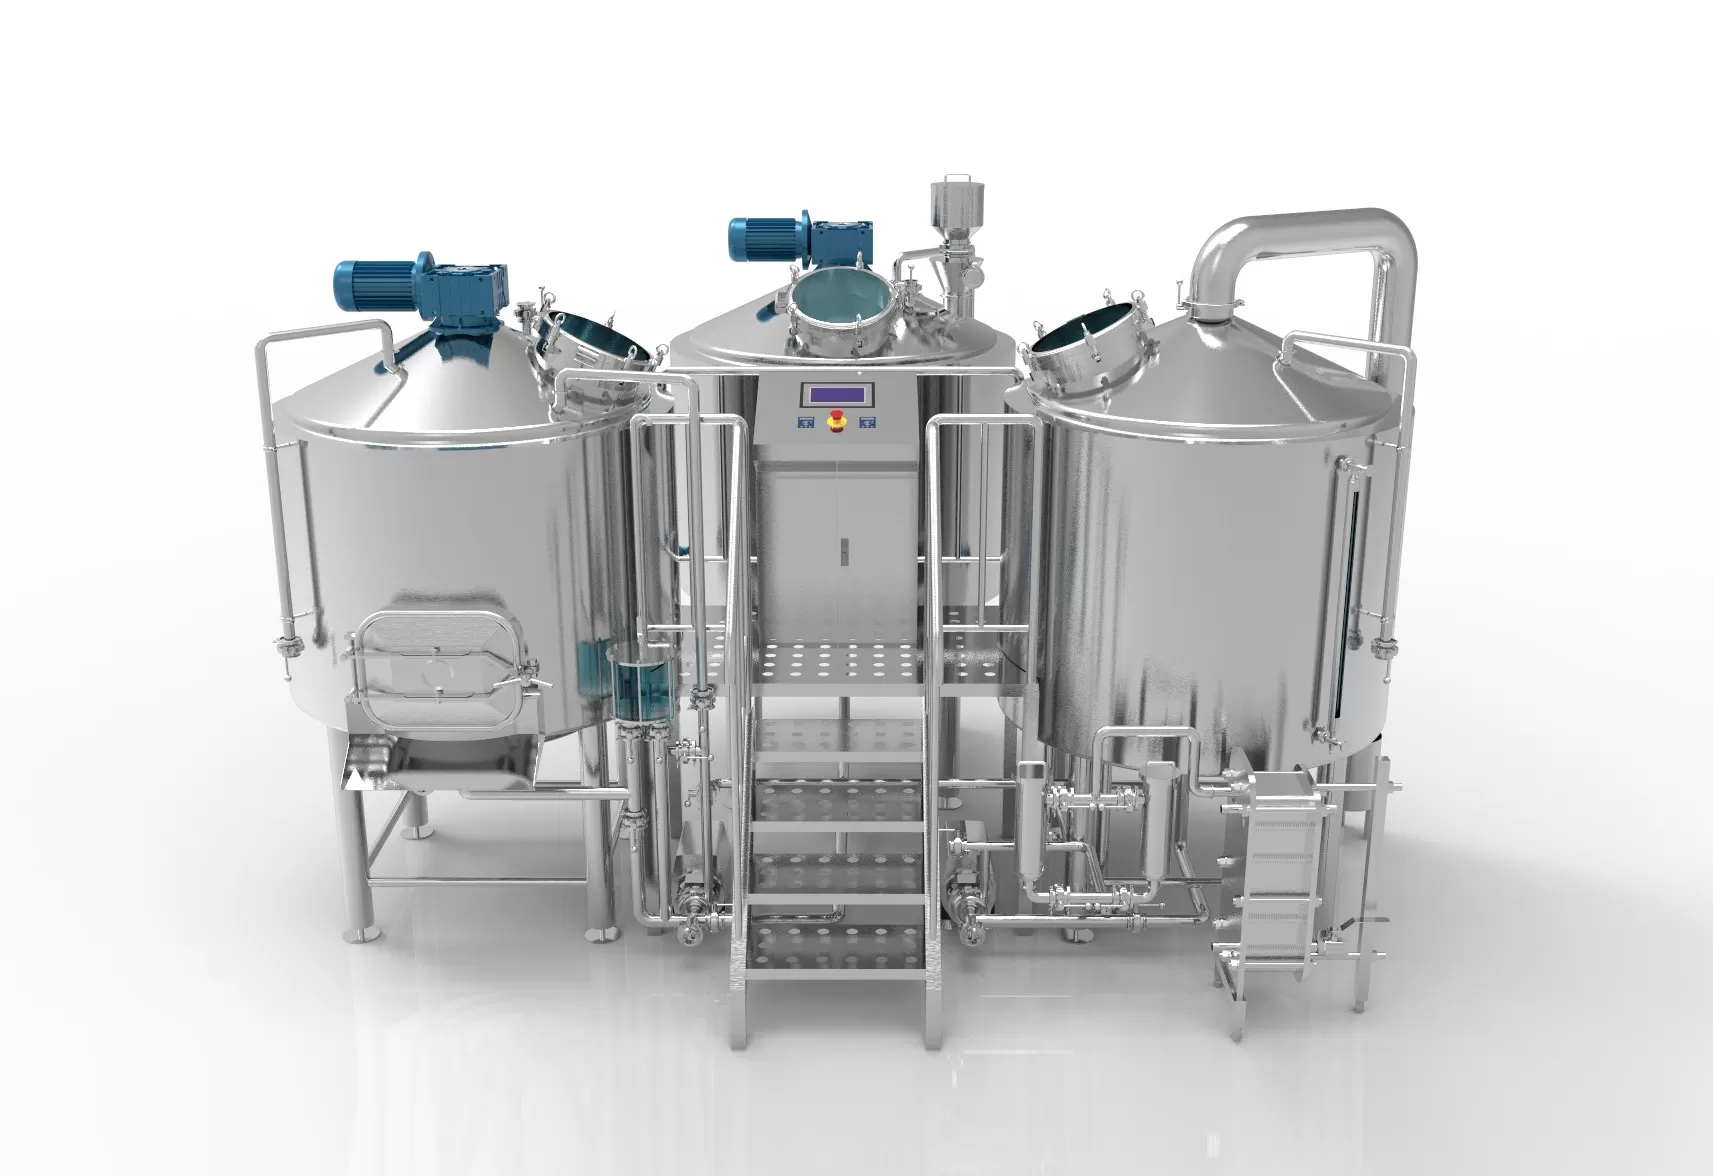
As a brewing equipment manufacturing plant, we help you translate that plan into hardware—mash tun sizing, lauter tun geometry, and heat exchanger capacity. For example, our nano brewery equipment is purpose-built for controlled, repeatable brewing smaller batches.
You’re here for craft beer consistency, so we show how pro-grade tools simplify home brewing scale-ups, recipe tweaks, and different beer styles exploration.
2. How do you mill malt and build a balanced grist for the mash?
Before mashing, you mill the malt (often barley, but other grain like wheat, rye, or oats can be used). The goal: crack the husk without pulverizing it. The crushed mix is the grist. A good mill gap protects the husk, which later acts as a natural filter bed over the false bottom. You want enough starch exposure for enzymes—alpha and beta amylase—to convert starch into fermentable sugar during the mashing process.
A well-built system—like our micro brewery equipment—lets the brewer control crush consistency and monitor spent grain output. Proper grist composition keeps the lautering smooth and prevents stuck runoff.
“Get the grist right, and the rest of the brew flows.” – Every experienced brewer, ever.
3. The mashing process: infusion mashing vs decoction mashing—what’s best for your beer style?
Mash time! In the mash, hot water activates enzyme activity to convert starch to sugar. You can use infusion mashing (most common for ale beer) or decoction mashing (traditional in some lager beer recipes). Both unlock fermentable sugar, but decoction mashing boils part of the mash for richer malt character.
Infusion mashing: Single temperature rest; ideal for most small breweries due to simplicity.
Decoction mashing: Pull thick mash, boil, return. More work, but great for certain beer style traditions.
Mashing and lautering work hand-in-hand; stable temps = high fermentable sugar yield and clear wort.
A mash tun with a reliable heating jacket and a false bottom improves extraction and prevents grain solids from slipping through. Temperature impacts protein breakdown, final beer quality, and mouthfeel. Our systems give you tight control over the mashing process and the brewing process overall.
The mashing process
4. Lautering, sparging, and the wort separation process: getting clear wort without stuck runoff
After sugars are extracted, you drain the sweet liquid—wort—from the grain bed. This is lautering. A dedicated lauter tun with an integrated false bottom helps trap solids. Gentle sparging (rinsing the bed with hot water) washes remaining sugars from the spent grain. Breweries balance sparge volume to avoid diluting wort too much.
A smooth wort separation process reduces tannin extraction and improves clarity. By the end, you have a kettle full of fermentable wort ready for the boil. Automation helps keep flow rates steady, so you don’t compact the bed.
5. Boiling process, hops, isomerization, and alpha acid management: controlling bitterness and flavor and aroma
During the boil, you sanitize wort, drive off DMS precursors, and add hops. The boiling process usually lasts 60–90 minutes. Isomerization of alpha acid creates bitterness (measured in IBUs). Later hop additions layer flavor and aroma. This is where “flavor and aroma” compounds shine—fruity, floral, piney, spicy—depending on your hop varieties.
Key points:
End of the boil: Add whirlpool hops for softer bitterness and big aroma.
Watch for trub—protein and hop debris that settle later.
Manage boil vigor to hit the content of the final beer targets for original gravity.
“Bitterness without balance is like a drum solo without rhythm.” Balance bitterness with malt sweetness.
Boiling process
6. Whirlpooling, removing trub, and rapid cooling with a heat exchanger
After the boil, we create a whirlpool to collect trub in the center of the kettle. We then pump hot wort through a heat exchanger to rapidly cool to pitching temperature, minimizing contamination risk. Rapid cooling protects delicate aroma compounds.
A hygienic design, CIP-ready piping, and the ability to rinse and sterilize lines keep your fermentation vessel free of wild microbes. Our beer bottling machine and filling lines pair with sanitary transfer gear to keep oxygen pickup low.
7. Pitching yeast and managing the fermentation process: ale, lager, and when to ferment warm or cold
Yeast time! We pitch yeast into the cooled wort in a fermentation vessel (often a conical fermenter). Correct yeast cell count ensures vigorous primary fermentation and full attenuation. Ale yeasts ferment warm, lager yeasts ferment cold. Both convert sugar to alcohol and CO₂, leaving flavor compounds that define a beer style.
Monitor the fermentation process: gravity, temperature, pH.
Decide when to ferment warmer to boost esters (fruity) or cooler to keep it clean.
Oxygenate the wort before pitching to support yeast growth.
Avoid under-pitching; stressed yeast can produce off-flavors.
We supply beer fermenter tank designs that make it easy to dump trub, harvest yeast, and clean effectively.
8. From green beer to finished beer: conditioning process, carbonation, and bright tanks
After primary fermentation, you have green beer. It needs time: the conditioning process lets residual yeast tidy up off-flavors and drop out proteins for clear beer. Transferring to a bright beer tank polishes clarity and allows carbonation adjustments. Our bright beer tank line is built for efficient cold conditioning.
Adjust CO₂ volumes for different beer styles.
Check the content of the final beer—ABV, residual sugar, turbidity.
Cold-crash to improve clarity.
At this point, the finished beer is stable, bright, and ready to package.
9. Packaging decisions for small breweries: bottle, keg, or can—and how to rinse, sterilize, and maintain final beer quality
Small breweries often use bottle, keg, or can formats. Each has pros and cons:
Package
Pros
Cons
Typical Use
Bottle
Traditional, good for cellaring
More labor, lightstrike risk
Specialty ales, sours
Keg
Fast service, draft quality
Requires draft system
Taprooms, bars
Can
Light-proof, portable
Seamer cost
Take-away, distribution
Before packaging, rinse and sterilize lines and vessels to protect final beer quality. Our beer keg filling machine and beer can filling machine help small breweries scale cleanly.
10. Brewing smaller batches efficiently: choosing the right brew kettle, lauter tun, and fermenter
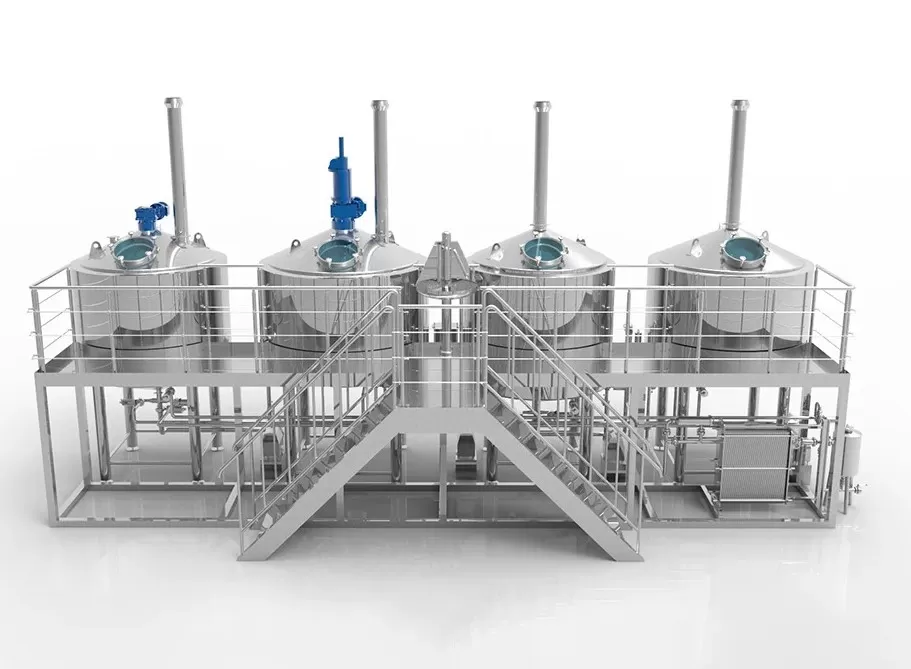
Brewing smaller batches gives flexibility for experimental recipes. But efficiency still matters. That’s where integrated systems—brew kettle, lauter tun, and multi-use fermenter—shine. Our modular brewing equipment supports extract brewing, pilot runs, and commercial scaling.
You want gear that grows with you—turnkey brewery for sale, automated controls, sanitary welds, and fast support. Explore our beer brewing systems for sale to make making beer easier.
How long does the brewing beer cycle take from mash to package? Typically 2–6 weeks depending on ale vs lager, conditioning time, and packaging readiness. Ale fermentation is quicker; lager beer needs cold storage.
What’s the difference between home brewing and small commercial brewing? Scale, controls, and repeatability. Home brewing relies on manual steps; a micro brewery uses jacketed tanks, precise pumps, and heat exchanger cooling for predictability and final beer quality.
Do I need different equipment for different beer styles? Not necessarily. A flexible system handles most styles. For decoction mashing or high-gravity brews, choose gear with strong heating and mixing capacity.
Why is yeast health so important? Proper cell count and oxygenation influence attenuation, ester profile, and clarity. Healthy yeast turns wort into final beer that matches your targets.
Can I use extract brewing to save time? Yes. Extract brewing skips mashing. Great for pilot tests—though all-grain gives more control over fermentable sugar and flavor layers.
What happens at the end of the boil? You add late hops for aroma, whirlpool to separate trub, then chill. Oxygenate after cooling, then pitch yeast.
12. Summary: Most Important Things to Remember
Plan the brewing process: recipe, cell count, and different steps are key.
Mill malt to create an efficient grist; protect husks for lautering.
Control the mashing process—enzymes, temperature, and mash tun design affect fermentable sugar.
Manage lautering, sparging, and the wort separation process to get clear, high-gravity wort.
During the boil, balance bitterness and aroma through hop timing and isomerization.
Use a whirlpool, heat exchanger, and sanitary transfers to protect flavor and aroma.
Pitch healthy yeast, monitor the fermentation process, and condition green beer into clear beer.
Choose packaging—bottle, keg, or can—based on your market; always rinse and sterilize.
Invest in scalable systems: brew kettle, lauter tun, and fermentation vessel sized for your goals.
Partner with an experienced manufacturer (that’s us!) to ensure final beer quality and smooth production of beer.
Let’s brew something memorable—together.
Beer Production Process for Small Breweries – Infographic
Beer Production Process for Small Breweries
A Step-by-Step Journey from Grain to Glass
1. Milling
Crush malted barley and grain to create grist for the mash tun.
2. Mashing
Mix grist with hot water, activating enzymes to convert starch to sugar.
3. Lautering
Separate sweet wort from spent grain using the lauter tun.
4. Boiling
Boil wort, add hops for bitterness, flavor and aroma, sterilizing the beer.
5. Whirlpool/Cooling
Whirlpool to clarify, then rapidly cool wort using a heat exchanger.
6. Fermentation
Add yeast to wort in fermentation vessel to produce alcohol and CO₂.
7. Conditioning
Cold mature beer, develop flavors, carbonate, and clarify for final beer quality.
8. Packaging
Fill into bottles, cans, or kegs—ready for sale and enjoyment.
Key Ingredients Used per Batch (Example: 1000L Craft Beer)