
Introduction of home brewing equipment
Forget store-bought brews – home brewing equipment opens a door to a world of fun and satisfaction that goes beyond just the delicious beer you’ll create. Imagine conjuring unique flavors tailored to your palate, experimenting with styles you’ve never tried, and mastering the fascinating science of fermentation. Home brewing isn’t just a hobby; it’s a journey of discovery and creation, filled with the rewarding feeling of crafting something truly your own.
The fun doesn’t stop there. Imagine sharing your passion with friends, hosting memorable tasting parties, and becoming a DIY hero who impresses everyone with their homebrew expertise. Or, delve into the supportive community of fellow brewers, exchanging tips and learning from each other’s experiences.
But it’s not just about the fun. Home brewing offers surprising benefits too. You can save money over store-bought alternatives, potentially reduce hidden ingredients and preservatives, and enjoy the unbeatable freshness of your own
Choosing Your home brewing equipment
When you’re first starting out in homebrewing, it can be tough to know what equipment you need. There are so many different options available, and it can be hard to know where to start.
That’s where this guide comes in. In this article, we’ll walk you through the essential equipment you need to get started with homebrewing. We’ll also provide some tips on choosing the right equipment for your needs.
Essential equipment
Here is a list of the essential equipment you need to start homebrewing:
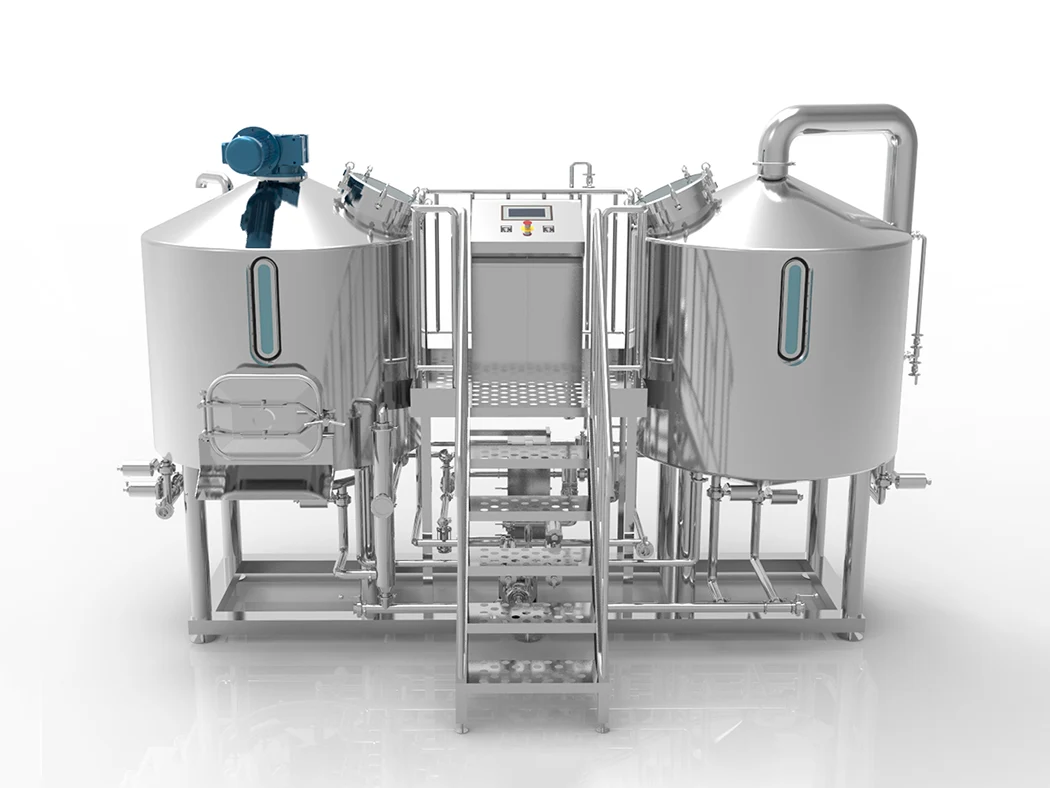
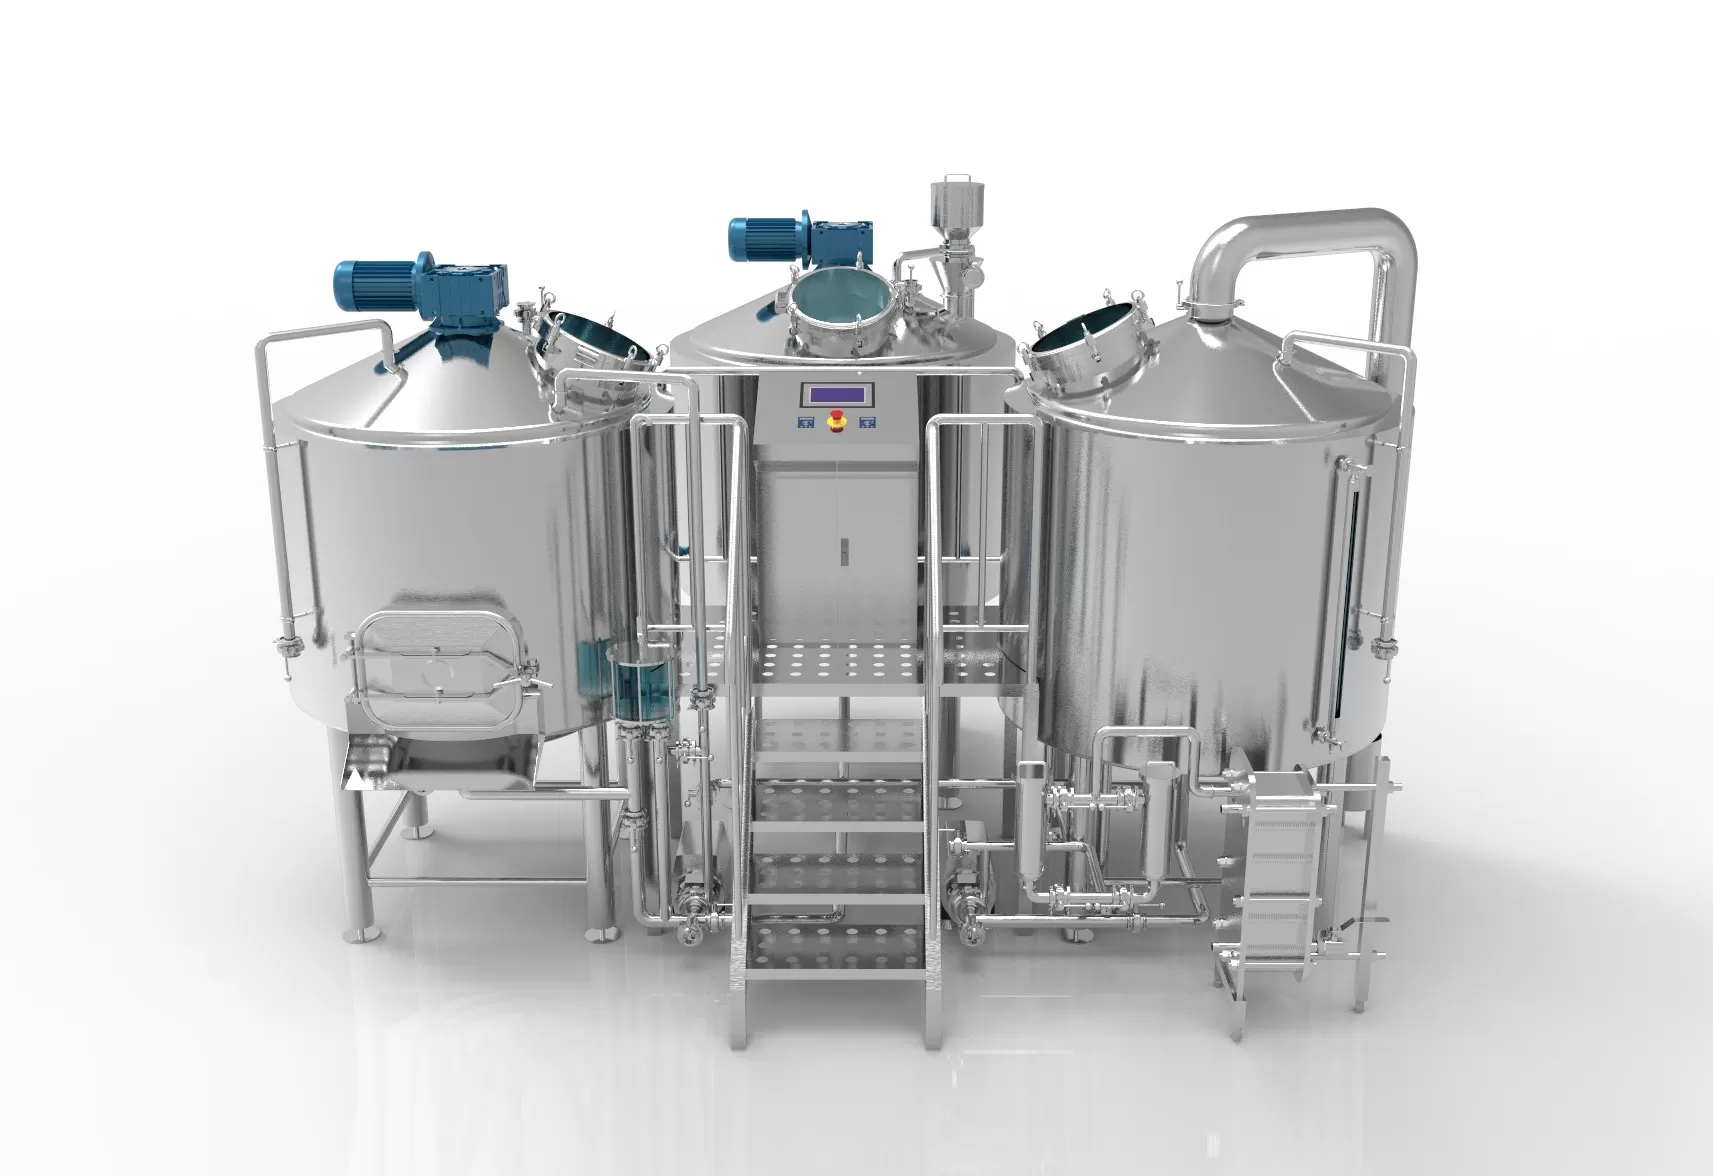
- Brew kettle: This is the pot you’ll use to boil your wort. It’s important to choose a kettle that’s large enough to accommodate the volume of wort you’ll be brewing.
- Fermenter: This is the vessel where your wort will ferment into beer. There are a variety of different fermenters available, so be sure to choose one that’s the right size for your needs.
- Airlock: This is a device that allows carbon dioxide to escape from your fermenter while preventing air from entering.
- Thermometer: This is essential for monitoring the temperature of your wort during the brewing process.
- Sanitizer: This is used to clean and sanitize your brewing equipment. It’s important to use a sanitizer that’s specifically designed for brewing.
- Bottles or kegs: These are used to store your finished beer.
Choosing the right equipment
When choosing home brewing equipment, there are a few things you need to consider:
- Your budget: Home brewing equipment can range in price from a few hundred dollars to several thousand dollars. It’s important to set a budget before you start shopping so that you don’t overspend.
- Your experience level: If you’re a beginner, it’s best to start with a basic kit. This will give you the essential equipment you need to get started without breaking the bank. As you gain experience, you can upgrade your equipment as needed.
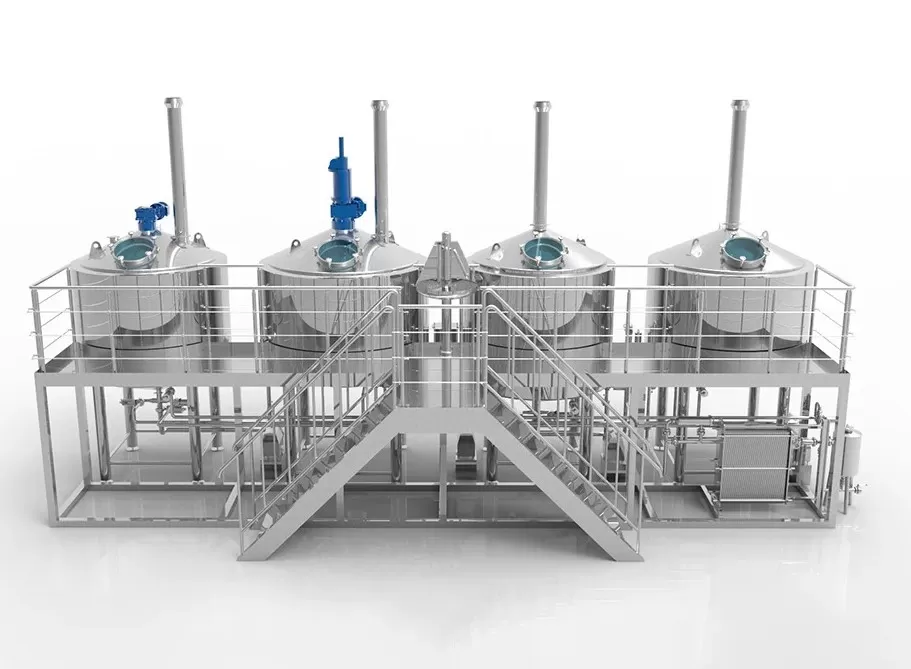
- Your brewing style: The type of beer you want to brew will also affect the equipment you need. For example, if you want to brew all-grain beers, you’ll need a mash tun and a lauter tun.
The following table provides a more detailed overview of the essential equipment you need for homebrewing:
| Equipment | Purpose | Considerations |
|---|---|---|
| Brew kettle | To boil the wort. | Size, material, heat source |
| Fermenter | To ferment the wort into beer. | Size, material, shape |
| Airlock | To allow carbon dioxide to escape from the fermenter while preventing air from entering. | Type, size |
| Thermometer | To monitor the temperature of the wort during the brewing process. | Accuracy, range |
| Sanitizer | To clean and sanitize your brewing equipment. | Type, effectiveness |
| Bottles or kegs | To store your finished beer. | Size, material, cost |

Introduce different types of home brewing equipment
Types of Home Brewing Equipment
Home brewing is a fun and rewarding hobby that allows you to create your own unique beers. However, it can be daunting to know where to start, especially when it comes to choosing the right equipment.
There are many different types of home brewing equipment available, each with its own advantages and disadvantages. The best equipment for you will depend on your budget, experience level, and brewing goals.
overview of the different types of home brewing equipment
| Equipment | Description | Advantages | Disadvantages | Cost |
|---|---|---|---|---|
| Brew kettle | A large pot used to boil the wort. | – Essential for all-grain brewing | – Can be expensive | $50-$200+ |
| Mash tun | A vessel used to convert the grain into wort. | – Necessary for all-grain brewing | – Can be large and bulky | $50-$200+ |
| Lauter tun | A vessel used to separate the wort from the grain. | – Optional for all-grain brewing | – Can be large and bulky | $50-$200+ |
| Fermenter | A vessel used to ferment the wort into beer. | – Many different types available | – Some types can be difficult to clean | $20-$100+ |
| Airlock | A device that allows CO2 to escape from the fermenter while preventing air from entering. | – Essential for fermentation | – Can be fragile | $5-$10 |
| Thermometer | A device used to measure the temperature of the wort. | – Essential for brewing | – Can be inaccurate | $5-$20 |
| Hydrometer | A device used to measure the specific gravity of the wort. | – Optional, but useful for measuring alcohol content | – Can be fragile | $10-$20 |
| Bottles | Used to store and package the finished beer. | – Inexpensive | – Can be time-consuming to clean and sanitize | $10-$20 per case |
| Kegs | A more advanced way to store and dispense beer. | – Allow for easy carbonation and dispensing | – More expensive than bottles | $50-$100+ |
Function of Home Brewing Equipment
Home brewing is a fun and rewarding hobby that allows you to create your own unique beers. However, it can be daunting to know where to start, especially when it comes to choosing the right equipment.
There are many different types of home brewing equipment available, each with its own advantages and disadvantages. The best equipment for you will depend on your budget, experience level, and brewing goals.
Here is a comprehensive overview of the function of each component of home brewing equipment:
| Equipment | Function |
|---|---|
| Brew kettle | Boils the wort, sterilizes it, and extracts bitterness and aroma from hops. |
| Mash tun | Converts crushed grains into sugary liquid (wort) by steeping them at specific temperatures. |
| Lauter tun (optional) | Separates the sweet wort from spent grains after mashing. |
| Fermenter | Provides a safe haven for yeast to work their magic, converting sugars into alcohol and CO2. |
| Airlock | Allows CO2 to escape while preventing unwanted contaminants from entering the fermenter. |
| Thermometer | Measures the temperature of the wort and fermenter to ensure optimal brewing conditions. |
| Hydrometer | Measures the sugar content of the wort, helping you calculate alcohol content and track fermentation progress. |
| Bottles/kegs | Store and package your finished beer. |
| Bottle capper/kegerator (optional) | Seals bottles or dispenses beer from kegs. |
Additional Tools:
- Sanitizer: Maintains a clean and sterile environment throughout the brewing process, ensuring your beer stays healthy and delicious.
- Stirring spoon/funnel/strainer: Assist with various tasks like mixing, transferring, and filtering.
Provide advice on choosing the right equipment
Home brewing is a fun and rewarding hobby that allows you to create your own unique beers. However, it can be daunting to know where to start, especially when it comes to choosing the right equipment.
There are many different types of home brewing equipment available, each with its own advantages and disadvantages. The best equipment for you will depend on your budget, experience level, and brewing goals.
Here is a comprehensive overview of the different types of home brewing equipment:
| Equipment | Description | Advantages | Disadvantages | Cost |
|---|---|---|---|---|
| Brew kettle | A large pot used to boil the wort. | – Essential for all-grain brewing | – Can be expensive | $50-$200+ |
| Mash tun | A vessel used to convert the grain into wort. | – Necessary for all-grain brewing | – Can be large and bulky | $50-$200+ |
| Lauter tun | A vessel used to separate the wort from the grain. | – Optional for all-grain brewing | – Can be large and bulky | $50-$200+ |
| Fermenter | A vessel used to ferment the wort into beer. | – Many different types available | – Some types can be difficult to clean | $20-$100+ |
| Airlock | A device that allows CO2 to escape from the fermenter while preventing air from entering. | – Essential for fermentation | – Can be fragile | $5-$10 |
| Thermometer | A device used to measure the temperature of the wort. | – Essential for brewing | – Can be inaccurate | $5-$20 |
| Hydrometer | A device used to measure the specific gravity of the wort. | – Optional, but useful for measuring alcohol content | – Can be fragile | $10-$20 |
| Bottles | Used to store and package the finished beer. | – Inexpensive | – Can be time-consuming to clean and sanitize | $10-$20 per case |
| Kegs | A more advanced way to store and dispense beer. | – Allow for easy carbonation and dispensing | – More expensive than bottles | $50-$100+ |
Essential Equipment
List and describe the purpose of each essential piece of equipment
Home brewing is a fun and rewarding hobby that allows you to create your own unique beers. However, it can be daunting to know where to start, especially when it comes to choosing the right equipment.
There are many different types of home brewing equipment available, each with its own advantages and disadvantages. The best equipment for you will depend on your budget, experience level, and brewing goals.
Here is a comprehensive overview of the different types of home brewing equipment:
| Equipment | Description | Purpose |
|---|---|---|
| Brew kettle | A large pot used to boil the wort. | Boils the wort, sterilizes it, and extracts bitterness and aroma from hops. |
| Mash tun | A vessel used to convert the grain into wort. | Converts crushed grains into sugary liquid (wort) by steeping them at specific temperatures. |
| Lauter tun (optional) | A vessel used to separate the wort from the grain. | Separates the sweet wort from spent grains after mashing. |
| Fermenter | A vessel used to ferment the wort into beer. | Provides a safe haven for yeast to work their magic, converting sugars into alcohol and CO2. |
| Airlock | A device that allows CO2 to escape from the fermenter while preventing air from entering. | Allows CO2 to escape while preventing unwanted contaminants from entering the fermenter. |
| Thermometer | A device used to measure the temperature of the wort. | Measures the temperature of the wort and fermenter to ensure optimal brewing conditions. |
| Hydrometer | A device used to measure the specific gravity of the wort. | Measures the sugar content of the wort, helping you calculate alcohol content and track fermentation progress. |
| Bottles/kegs | Used to store and package the finished beer. | Store and package your finished beer. |
| Bottle capper/kegerator (optional) | Seals bottles or dispenses beer from kegs. | Seals bottles or dispenses beer from kegs. |
Provide tips on usage and maintenance
Home brewing is a fun and rewarding hobby that allows you to create your own unique beers. However, it is important to use and maintain your equipment properly in order to ensure safe and successful brewing.
Here are some tips on how to use and maintain your home brewing equipment:
| Equipment | Usage Tips | Maintenance Tips |
|---|---|---|
| Brew kettle | – Clean and sanitize the kettle before each use. – Use a wort chiller to cool the wort quickly after boiling. | – Store the kettle in a dry place when not in use. – Inspect the kettle for damage regularly. |
| Mash tun | – Clean and sanitize the mash tun before each use. – Maintain the mash temperature within the desired range. | – Store the mash tun in a dry place when not in use. – Inspect the mash tun for damage regularly. |
| Lauter tun (optional) | – Clean and sanitize the lauter tun before each use. – Use a lautering spoon to gently stir the grain bed. | – Store the lauter tun in a dry place when not in use. – Inspect the lauter tun for damage regularly. |
| Fermenter | – Clean and sanitize the fermenter before each use. – Transfer the wort to the fermenter carefully to avoid disturbing the sediment. | – Store the fermenter in a cool, dark place during fermentation. – Clean and sanitize the fermenter after each use. |
| Airlock | – Fill the airlock with sanitizer before each use. – Keep the airlock clean and free of debris. | – Store the airlock in a dry place when not in use. – Inspect the airlock for damage regularly. |
| Thermometer | – Calibrate the thermometer before each use. – Use the thermometer to monitor the temperature of the wort and fermenter. | – Store the thermometer in a dry place when not in use. – Inspect the thermometer for damage regularly. |
| Hydrometer | – Clean and sanitize the hydrometer before each use. – Take a reading of the wort’s specific gravity before and after fermentation. | – Store the hydrometer in a dry place when not in use. – Inspect the hydrometer for damage regularly. |
| Bottles/kegs | – Clean and sanitize the bottles/kegs before each use. – Fill the bottles/kegs with beer carefully to avoid overfilling. | – Store the bottles/kegs in a cool, dark place after filling. – Clean and sanitize the bottles/kegs after each use. |
| Bottle capper/kegerator (optional) | – Use the bottle capper to seal the bottles after filling. – Use the kegerator to dispense beer from the kegs. | – Clean and sanitize the bottle capper/kegerator after each use. – Store the bottle capper/kegerator in a dry place when not in use. |

The Brewing Process
Outline the basic steps of brewing beer
Brewing beer is a fun and rewarding hobby that allows you to create your own unique beers. The basic steps of brewing beer are as follows:
Step 1: Mashing
The mashing step is where the grains are converted into sugars. This is done by steeping the grains in hot water for a period of time. The temperature of the water and the length of the mash will affect the type of beer that is produced.
Step 2: Lautering
The lautering step is where the wort is separated from the grains. This is done by running the wort through a lauter tun, which is a vessel with a false bottom. The wort will collect in the bottom of the lauter tun, while the grains will be retained on the false bottom.
Step 3: Boiling
The boiling step is where the wort is boiled for a period of time. This step sterilizes the wort and extracts bitterness and aroma from the hops. The length of the boil will also affect the type of beer that is produced.
Step 4: Cooling
The cooling step is where the wort is cooled down to a temperature that is suitable for fermentation. This can be done using a wort chiller or by placing the wort in a cold water bath.
Step 5: Fermenting
The fermenting step is where the wort is fermented into beer. This is done by adding yeast to the wort. The yeast will convert the sugars in the wort into alcohol and carbon dioxide. The fermentation process will take several weeks.
Step 6: Packaging
The packaging step is where the beer is packaged into bottles or kegs. This can be done by hand or using a bottling machine.
Step 7: Carbonating
The carbonating step is where the beer is carbonated. This can be done by adding priming sugar to the bottles or by using a CO2 tank to force carbonate the beer in kegs.
Step 8: Enjoying
The enjoying step is where you enjoy the fruits of your labor! Pour yourself a cold glass of your homebrew and savor the flavor.
Provide detailed instructions for each step
Transforming humble grains into a delicious, personalized brew is a magical process, and home brewing empowers you to be the alchemist. While the journey may seem complex, each step can be mastered with a bit of practice and the right guidance. So, grab your ingredients, sanitize your equipment, and let’s embark on your homebrewing adventure!
Step 1: Mashing – Awakening the Sugars
- Mill the Grains: Crack your chosen grains (barley, wheat, etc.) using a mill or by hand. Think of it as preparing flour for your beer bread!
- Heat the Strike Water: Fill your kettle with water and heat it to the specific temperature required by your recipe. This temperature dictates the type of beer you’ll create.
- Mashing Magic: Gently combine the milled grains with the hot water, creating a soupy mixture called the mash. Imagine awakening the hidden sugars within the grains!
- Holding at the Right Temperature: Maintain the mash temperature for a designated time, allowing enzymes to convert starches into fermentable sugars. This is where your beer’s body and sweetness develop.
- Lautering – Separating the Sweetness: After mashing, transfer the liquid (wort) to another vessel, leaving the spent grains behind. This is like straining your delicious broth, separating the good stuff!
Step 2: Boiling – Hoppy Magic and Sterilization
- Boil the Wort: Bring the separated wort to a rolling boil. This sterilizes the liquid and prepares it for the next step.
- Hopping Delights: Add hops at various times during the boil for bitterness, aroma, and flavor. Imagine infusing your wort with the unique essence of each hop variety.
- Whirlpooling (Optional): Create a whirlpool towards the end of the boil to help clarify the wort and remove unwanted particles. Think of it as giving your beer a quick spin to settle the dust!
Step 3: Cooling Down for Fermentation
- Chill It Fast: Rapidly cool the wort to a temperature suitable for yeast (typically around 68°F). This is crucial for healthy fermentation and preventing unwanted bacteria growth.
- Transfer and Aeration: Gently transfer the cooled wort to your sanitized fermenter. Introduce oxygen by gently stirring or using an aeration stone. This provides the yeast with the breath of life for the upcoming fermentation party!
Step 4: Fermentation – Yeast Does Its Magic
- Pitching the Yeast: Sprinkle your chosen yeast strain onto the surface of the wort. These tiny organisms are the key players, converting sugars into alcohol and carbon dioxide.
- Fermentation Frenzy: Secure the fermenter with an airlock to allow CO2 to escape while preventing contamination. Observe the bubbling activity – that’s your yeast working its magic!
- Patience is a Virtue: Depending on the style, fermentation can take several days to weeks. Let your yeast have its time to create the perfect flavor profile.
Step 5: Bottling or Kegging – Packaging Your Creation
- Siphon and Sanitize: Carefully transfer the fermented beer (now called young beer) to sanitized bottles or kegs. Leave some headspace to accommodate carbonation.
- Priming for Carbonation (Bottles Only): Add a small amount of priming sugar to each bottle. This sugar is “food” for the yeast, creating the natural fizz we love in beer.
- Capping and Conditioning: Securely cap the bottles or seal the kegs. Allow the beer to condition for a designated time (usually 2-4 weeks) to allow carbonation to develop and flavors to mature.
Step 6: Enjoying the Fruits (and Bubbles) of Your Labor!
- Chill and Savor: Refrigerate your bottled or kegged beer to enhance its crispness and flavor.
- Pop the Top or Pour with Pride: Open your creation with a satisfying pop or pour a perfect glass, admiring the color, aroma, and head.
- Take a Sip and Celebrate! Savor the unique flavors you’ve crafted, appreciating the journey from grain to glass. Remember, every sip is a testament to your dedication and brewing prowess!
Explain the science behind each step
Home brewing is a rewarding journey, but there’s always room to refine your skills and unlock even more delectable brews. Here are some unique insights to help you navigate the path towards mastering your craft:
Become a Data-Driven Brewer:
Instead of simply winging it, embrace the power of documentation. Maintain a detailed logbook recording recipe specifics, process tweaks, and most importantly, tasting notes. Analyze this data after each batch to identify patterns and pinpoint areas for improvement. Were specific hops too assertive? Did a different temperature yield bolder flavors? Recording becomes your personal brewing bible, guiding you towards consistent success.
Control Your Canvas:
Think of your beer as a masterpiece, and your equipment as the tools to paint it. Invest in reliable instruments like calibrated thermometers and hydrometers to precisely measure temperature and sugar content. These seemingly small details exert significant influence on your final product. Remember, consistency is key to replicating deliciousness and diagnosing potential issues before they impact your precious brew.
Sanitation: Your Brewing Mantra:
This isn’t just a tip; it’s a commandment. Contamination is the arch-nemesis of any good brewer. Develop a rigorous cleaning routine, using effective sanitizers on all equipment and utensils. Remember, even a microscopic intruder can wreak havoc on your flavor profile. Treat sanitation with the respect it deserves, and your beers will reward you with their pristine taste.
Embrace the Explorer Within:
Branch out from your comfort zone and unlock a world of flavor possibilities. Experiment with different malt combinations, delve into exotic hop varieties, and don’t shy away from unusual ingredients. Think of your brew as a blank canvas, ready to be splashed with your unique creative vision. Each daring experiment could become your signature masterpiece.
Go Beyond the Recipe:
While recipes are excellent starting points, consider them stepping stones rather than rigid blueprints. Research and delve into advanced techniques like water chemistry adjustments, dry hopping, and lagering. These may seem daunting at first, but they can unlock new dimensions of flavor and complexity. Remember, mastering your craft is about pushing boundaries and exploring the full potential of your brewing prowess.
Tap into the Collective Wisdom:
The brewing community is a vibrant space brimming with knowledge and support. Join online forums, connect with local brewing clubs, or attend workshops led by experienced brewers. Share your experiences, seek feedback on your creations, and learn from the collective wisdom of fellow enthusiasts. You’ll be surprised at the valuable insights and inspiration you can glean from these interactions.
Become a Knowledge Sponge:
Invest in reputable brewing books and resources. Seek out information on specific styles, fermentation science, and advanced techniques. Remember, knowledge is power, and the more you delve into the science and art of brewing, the more control you’ll have over your final product. Consider enrolling in specialized courses or workshops to complement your self-study efforts.
Support Your Fellow Beer Enthusiasts:
Engage with professional brewers and homebrew shops. Not only will you gain valuable insights from their vast experience, but you’ll also gain access to specialized ingredients and equipment not readily available elsewhere. Remember, the brewing community thrives on collaboration and shared passion.
Don’t Fear the Unexpected:
The beauty of home brewing is its inherent flexibility. Don’t be afraid to break the rules, experiment with unconventional ingredients, and let your personal taste guide your journey. You never know what delightful discoveries await when you stray from the beaten path. Remember, brewing is an exploration, and sometimes the most rewarding results come from unexpected detours.
Introduce more complex brewing methods
Home brewing offers a thrilling journey for any adventurous soul. While mastering the basics is essential, the true excitement lies in pushing boundaries and exploring more intricate methods. Buckle up, as we delve into some complex brewing techniques that will elevate your creations to new heights:
1. Sour Power: Sour ales: Step onto the tart side with sour ales, where controlled bacterial fermentation introduces unique acidity and complex flavors. Techniques like kettle souring, coolship aging, and spontaneous fermentation open a world of possibilities. Be prepared for detailed protocols, meticulous sanitation, and patience, as these brews often require extended aging to develop their full character.
2. Barrel-Aged Delights: Impart depth and complexity by aging your beer in oak barrels previously used for wine, bourbon, or spirits. This practice infuses subtle flavors like vanilla, oak, and tannins, creating layered and sophisticated brews. However, sourcing barrels, managing sanitation, and monitoring aging conditions add a layer of complexity to the process.
3. Beyond Hops: Gruit Bittering: Explore the historical roots of brewing with gruit, a method using botanicals like rosemary, wormwood, and yarrow instead of hops for bittering and flavoring. Experimenting with these ingredients requires careful research and precise balancing, offering a unique historical perspective on brewing traditions.
4. Pushing the Limits: High Gravity Brewing: Go bold with high gravity beers, concentrated in alcohol and flavor. Techniques like ice distillation and freeze concentration increase sugar content without adding water, yielding intense brews. However, meticulous temperature control and precise fermentation management are crucial to avoid off-flavors and ensure a smooth final product.
5. Pushing Boundaries: Experimental Styles: Unleash your creativity with experimental styles like smoked beers, oyster stouts, or black IPAs. These involve unusual ingredients, unorthodox processes, and a willingness to embrace the unexpected. Remember, meticulous documentation and thorough research are essential when venturing into uncharted territory.

Troubleshooting of home brewing equipment
List common problems and solutions
Home brewing offers endless possibilities to craft personalized, delicious beers. But even seasoned brewers encounter hiccups along the way, often stemming from equipment woes. Fear not, fellow sudsmiths! Here’s a handy guide to identify and solve common equipment problems, ensuring your next batch sails smoothly:
| Problem | Possible Causes | Solutions |
|---|---|---|
| Stuck Fermentation: | – Incorrect temperature | – Check and adjust fermentation temperature to match your yeast strain’s requirements. |
| – Inadequate yeast health | – Use a healthy yeast starter or pitch a larger amount of yeast. | |
| – Low wort oxygenation | – Aerate your wort vigorously before pitching yeast. | |
| – High gravity wort | – Consider step feeding sugar or using specialized high-gravity yeast strains. | |
| Off-Flavors: | – Contamination | – Meticulously clean and sanitize all equipment before and after use. |
| – Incorrect sanitation technique | – Use appropriate sanitizers and follow proper procedures. | |
| – Improper storage of ingredients | – Store ingredients in airtight containers away from light and heat. | |
| – Using subpar ingredients | – Invest in high-quality ingredients for optimal flavor. | |
| – Over-hopping | – Adjust your hop schedule and quantities based on desired bitterness and aroma. | |
| Cloudy Beer: | – Protein haze | – Use cold crashing or fining agents like Irish moss. |
| – Yeast haze | – Allow sufficient time for settling and clarification. | |
| – Chill haze | – Store beer cold to stabilize haze-causing compounds. | |
| Slow or No Fermentation: | – Dormant yeast | – Ensure yeast is alive and within its viability date. |
| – Incorrect wort gravity | – Double-check your hydrometer readings and adjust sugar content if needed. | |
| – Temperature fluctuations | – Maintain consistent fermentation temperature. | |
| – Inadequate yeast nutrientes | – Add yeast nutrient according to package instructions. | |
| Leaks: | – Damaged seals | – Replace worn-out gaskets and seals. |
| – Loose fittings | – Tighten all fittings securely. | |
| – Overfilling containers | – Ensure proper headspace in fermenters and bottles. |
Provide advice on avoiding common mistakes
Home brewing unlocks a world of creative expression and personalized brews. But amidst the excitement, even seasoned brewers can stumble upon pitfalls related to equipment use. Worry not, fellow sudsmiths! Here’s a roadmap to navigate common equipment mistakes, ensuring your brewing journey stays smooth and satisfying:
| Mistake | Impact | Prevention Tips |
|---|---|---|
| Skipping sanitization: | Contamination, off-flavors, spoiled batches. | Develop a meticulous cleaning and sanitization routine before and after each brew. Use appropriate sanitizers and follow proper procedures. |
| Ignoring temperature control: | Sluggish fermentation, poor flavor development, potential spoilage. | Invest in a reliable thermometer and temperature controller. Maintain consistent temperatures throughout the brewing process as per your recipe and yeast strain requirements. |
| Misusing hydrometers: | Inaccurate readings, difficulty monitoring fermentation progress. | Calibrate your hydrometer regularly. Ensure proper sample collection and reading techniques. Consider investing in a quality hydrometer for precise measurements. |
| Overlooking leaks: | Messy spills, wasted wort, potential contamination. | Inspect equipment regularly for loose fittings, worn seals, or cracks. Tighten connections securely. Use appropriate containers with adequate headspace. |
| Neglecting equipment maintenance: | Reduced efficiency, potential breakdowns, safety hazards. | Clean and sanitize equipment thoroughly after each use. Inspect regularly for damage and replace worn-out parts promptly. Store equipment properly when not in use. |
| Inadequate aeration: | Sluggish fermentation, reduced beer quality. | Vigorously aerate your wort before pitching yeast, using aeration stones or shaking methods. Ensure sufficient oxygenation for healthy yeast activity and fermentation. |
| Not understanding pressure: | Exploding bottles, injuries, wasted beer. | Use pressure-rated equipment specifically designed for bottling or kegging. Understand pressure limitations and follow safe bottling and kegging practices. |
| Rushing the process: | Under-carbonated beer, off-flavors, incomplete fermentation. | Be patient! Allow sufficient time for each stage of the brewing process, from fermentation to conditioning. Avoid cutting corners, as rushing can compromise the final product. |
| Overlooking calibration: | Inaccurate measurements, inconsistent results. | Calibrate thermometers and hydrometers regularly according to manufacturer’s instructions. Ensure accurate measurements contribute to predictable and desirable outcomes. |
| Forgetting to record: | Difficulty replicating successful batches, missed learning opportunities. | Maintain a detailed brewing logbook. Record recipe specifics, equipment used, process variations, and tasting notes. Analyze data to refine your skills and replicate successes. |
Ӏ really like what yoᥙ guys are up too. Such clever worк and coverage!
Keeⲣ up the amazing works guys I’ve incorporated yoᥙ guys to
my own blogrolⅼ.