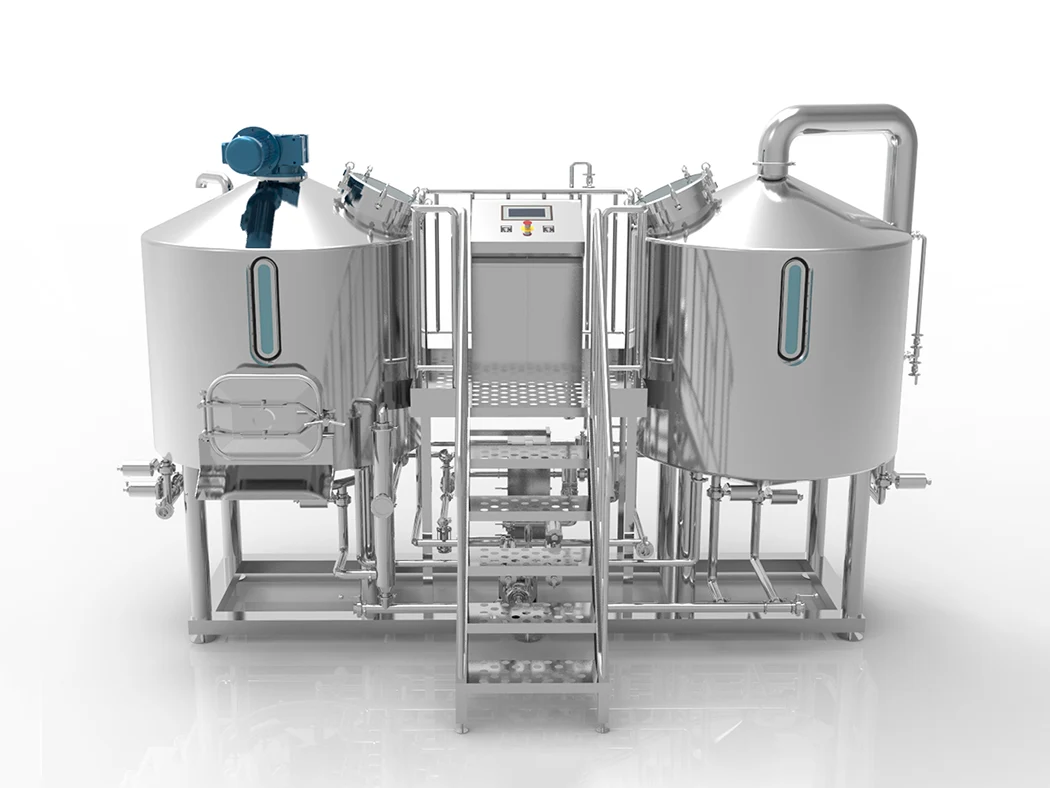
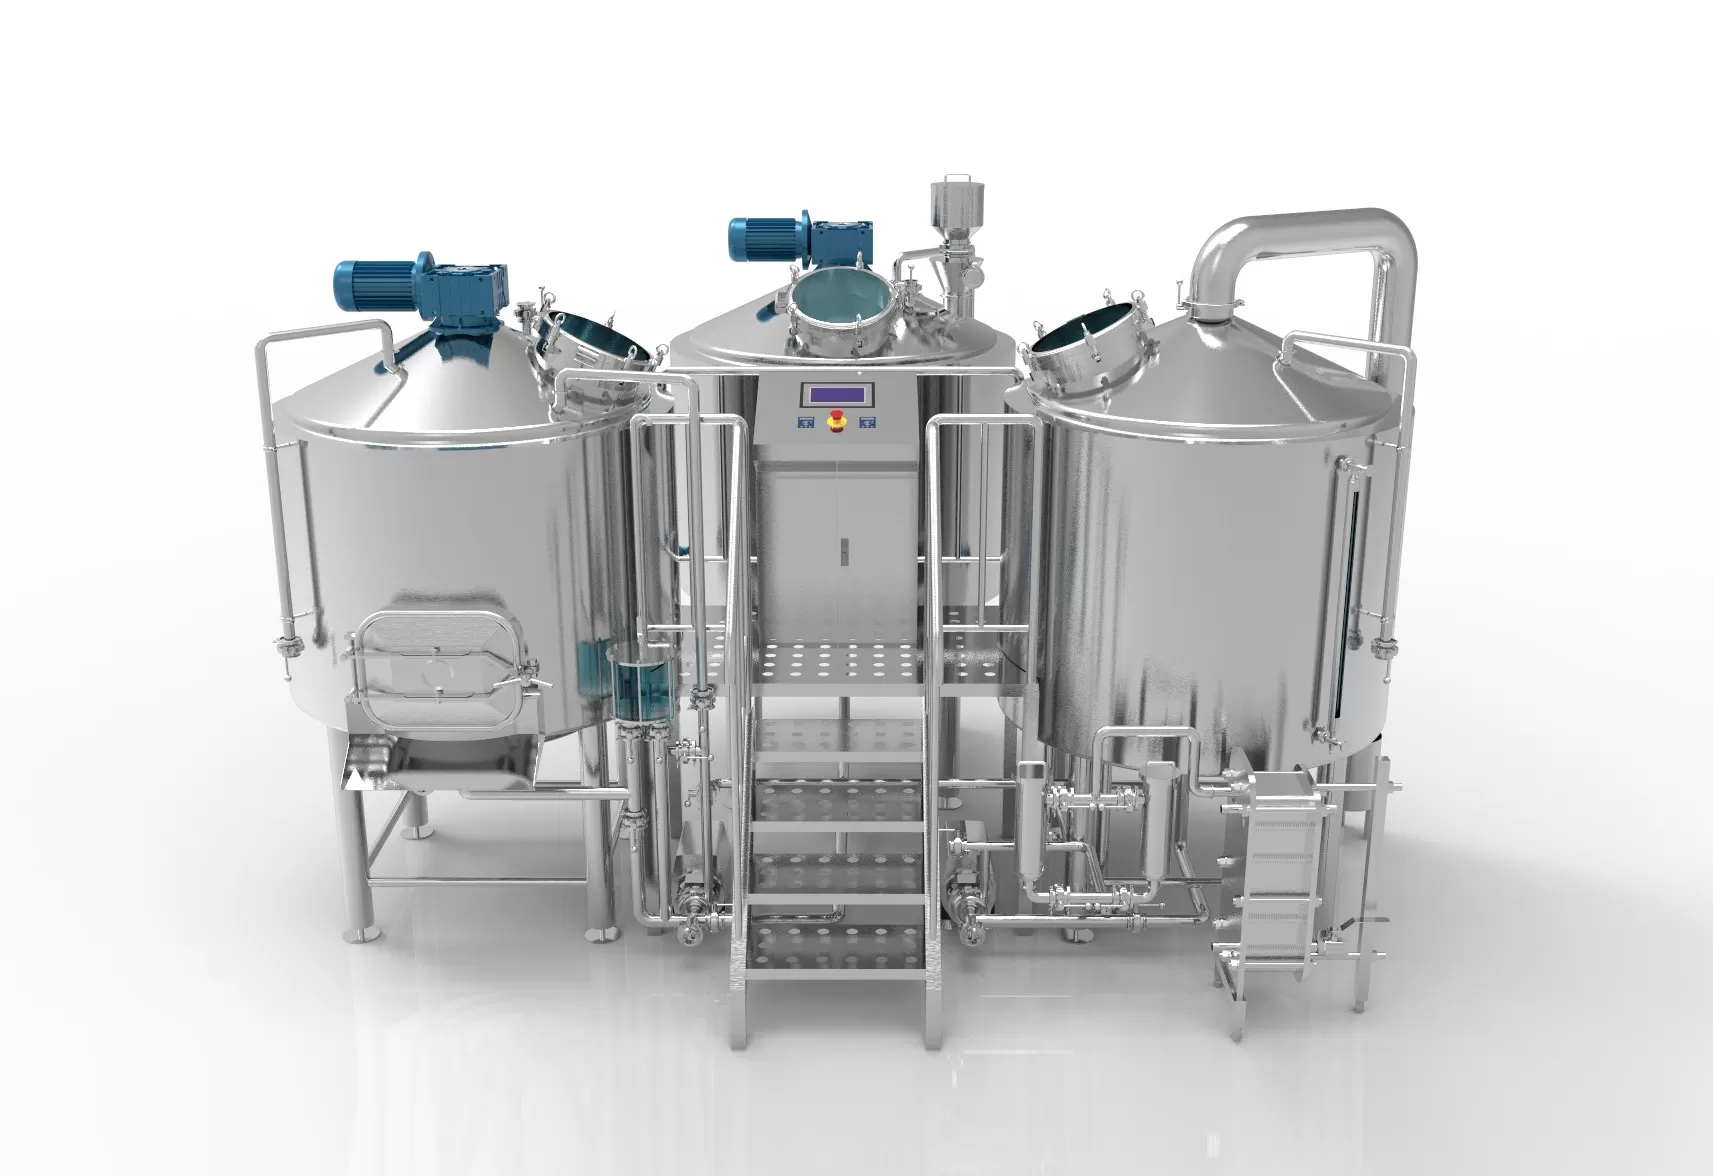
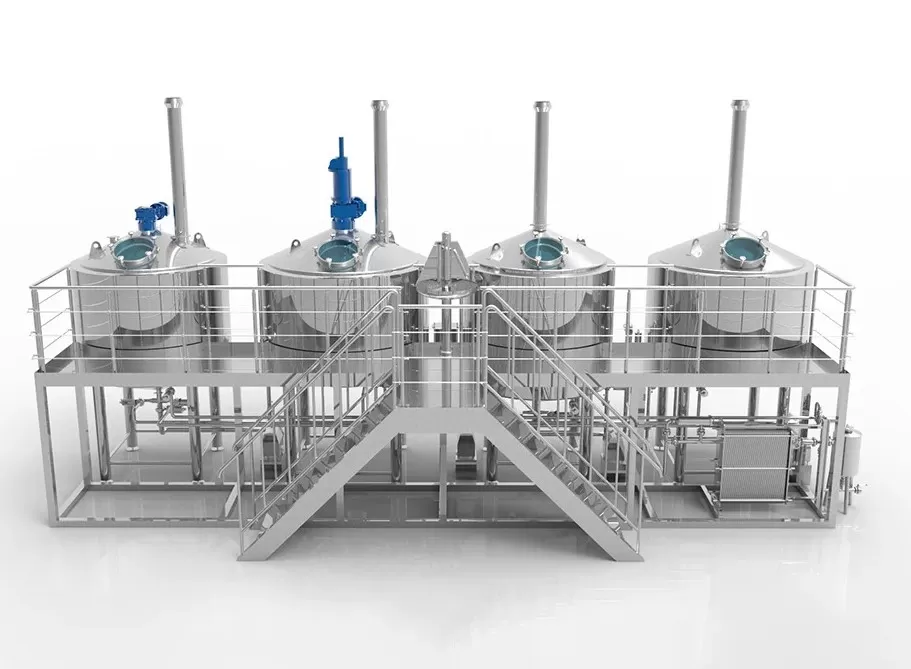

The first step to getting started with craft beer brewing is choosing to own a craft beer brewing kit. Brewing your beer at home is much easier than most people think. When you brew at home, you can create a very simple operation in a spare room of your home or your garage. The brewing equipment package you need is affordable and won’t take up a lot of space. Whether you’re a beginner or a brewmaster looking to update your brewing equipment, Micet Group has a beer-making kit to suit your experience level and interests.
What is craft beer and how do we brew it?
I know this may sound basic, but to be a craft brewer we need to understand the most basic craft. Craft beer is composed of 4 ingredients – water, malt, hops and yeast.
Beginner’s Guide to Craft Beer Brewing:
- You prepare the ingredients and prepare the equipment (cleaning)
- Add and mix ingredients
- Add yeast
- Let the beer ferment for about 14 days
- Test whether the beer is ready
- Bottling beer
- Enjoy your brewed batch!
- Cleaning + disinfection equipment
The beer brewing process for beginners can take about 21 to 28 days, depending on the style of beer. you’ll need about 20 minutes to combine the ingredients and then let them soak for about seven days. After that, the beer is bottled (which takes about 40 minutes) and allowed to ferment. Once the beer has been in the bottle for two weeks, you can chill it and enjoy it.

What starter kit does a beginner need for brewing beer?
A starter kit should include a fermentation bucket, bottling bucket, bottling wand, capper, automatic siphon, transfer tube, hydrometer, airlock and sanitizing solution. Besides to your brewing kit, you will also need a pot/kettle large enough to brew and a propane burner. Some people use a kitchen stove, but it may not be large enough to hold a 7-8 gallon kettle. A digital thermometer is also handy and a must-have for soaking and pitching temperatures. Before you start brewing craft beer, you need to have the right beer equipment and ingredients. For beginners, the key points of brewing beer include:
- Beer kit
- 4+ Gallon Pot
- Fermentation tank
- Air lock or plug
- Shelf cane/auto siphon
- Bottling stick
- Thermometer
- Digital scale
- PVC pipe (⅜ inch beer pipe)
- Bottle
- Bottle caps and capping machines
- No-rinse cleaner and food-grade disinfectant
For your first time brewing beer at home, a starter kit is the right choice because it comes with all the equipment and ingredients you need to brew your first batch of beer. We don’t recommend all-grain brewing for beginners, as things like partial mashing and all-grain brewing need more advanced techniques.
Advice on beer kits for new home brewers
Micet thinks there are a few things in brewing that are useful for new home brewers. Here are a few suggestions for reference.
- Kettle: Like many winemakers, buy a starter equipment kit. Once you have it, all you need is a brewing kettle and ingredients, and you’re ready to brew.
- Malt Cooler: One of the best ways to reduce the likelihood of beer contamination is to cool the wort as as possible, lowering the temperature out of the dangerous range that harmful bacteria prefer. Many new home brewers do this by submerging their brew pot in an ice bath in a large tub or tub. By purchasing a wort cooler, you can save a lot of time, drop hassle, and reduce the risk of contamination.
- Automatic Siphon: Whether you are transferring from kettle to main fermenter or rack to keg, the automatic siphon is your main tool. Most entry-level brew setups include a 5/16-inch automatic siphon. When purchased , they usually cost around $10 or so.
- Sourdough starter: Whether you buy a tube of yeast, a packet of yeast, or a package of dry yeast, making a sourdough starter is a great way to ensure your fermentation cycle is off to a great start. It only takes about 20 minutes to complete and improves your chances of getting a strong, active primary fermentation stage. This also reduces the chance of contamination because sugar is converted to alcohol faster when the yeast is healthy and plentiful.
- Wort oxygenation: When your hot phase is complete and your wort has been cooled, there is little oxygen left, which the yeast needs to begin vigorous fermentation.
- Use a blow tube: Using a blow tube instead of an airlock doesn’t mean your beer won’t taste great. It means there won’t be any mess on your hands. Place one end of a tube into the top of the plug and dip the other tube into the disinfectant, and you’re good to go. Some Clawson may get into your solution bucket through the tubing, so it’s not a bad idea to check and replace the sanitizer a few times a day.
- Mash Bag: Without a mash tun, they couldn’t start brewing all-grain beer. Incorrect! If you have a quality sleeping bag, place the mash in a brew kettle (heat it!) and wrap it in the sleeping bag for 60 minutes. You’ll be surprised at how well the temperature is maintained. Check after about 15 minutes and add boiling water if you need to raise the temperature.

5 Important Steps to Brewing for Beginners
Home brewing is a fun way to save money and enjoy different types of beer. Before you brew your first batch of beer, you need equipment. Investing in the right equipment at the beginning of your homebrewing venture will save you a lot of headaches, frustration, and wasted ingredients.
- Keep it clean: The most important rule for homebrewers is hygiene, especially during the cooling process. Sale an easy-to-clean coil immersion cooler to cool your wort to reduce the risk of contamination.
- Prepare yeast : First, don’t let yeast sit in the refrigerator for months. Second, you must provide the yeast with the correct amount of nutrients and oxygen to do its job. If the yeast is happy, it rewards you with better beer.
- Keep away from stoves: When boiling occurs, it may cause a mess in the kitchen. Instead, use a propane burner and patio, garage, or driveway space where you can heat the beer, and have a hose or spray bottle ready when you bring the kettle to a boil or add hops.
- Buy a glass fermenter: Plastic fermenters are fine and work, but glass fermenters last longer, don’t leak, and are easier to sterilize.
- Alcohol content: Managing the higher gravity fermentation of stronger, higher alcohol content beers can be tricky when you’re starting out. If it’s too light, there’s less room for error because there’s no place to hide any flaws. Beginners should keep alcohol content in the 5% to 7% range.
Steps to follow to brew craft beer
- Keep your beer kit safe. The advent of beer kits will make life easier for anyone trying home brewing for the first time. When you say beer kit, this would include malt concentrate and yeast. This will also include some guidance on how to use fermentation ingredients to brew beer. Some possible recommended ingredients include brewing sugar, rice syrup, and liquid maltose syrup.
- Prepare beer. Brewing beer begins with sanitizing and cleaning the equipment required in the process. After the equipment is sterilized, prepare two quarts of water, heat it to about 160 degrees Fahrenheit and remove the heat. If done, add the contents of the beer kit and cook according to the set instructions. With this kit, you’ll learn that it’s best to let the ingredients dissolve before putting the lid on. Once you have done this, you need to pour the contents into the cold water in the fermenter. Mix well again and allow fermentation to proceed at the recommended temperature.
- Watch the fermentation process. This is the process of turning malt into beer. The initial stages of beer fermentation can last several days, and the key to this step is to watch the temperature . So how do you know your beer is ready to be bottled? Now there are two ways to tell if it is ready for packaging. The first is to check the bubbles coming out of the lock; if no more than one bubble bursts per minute, it means it is ready. Another test is to check for yeast. If it’s at the bottom, it’s ready for bottling.
- The last step is the bottling and pouring part. During the startup process, sugar will be mixed with the beer to encourage fermentation. Now transfer the beer to the primer bucket, add the sugar and mix. After this, the beer is ready to be transferred to bottles.