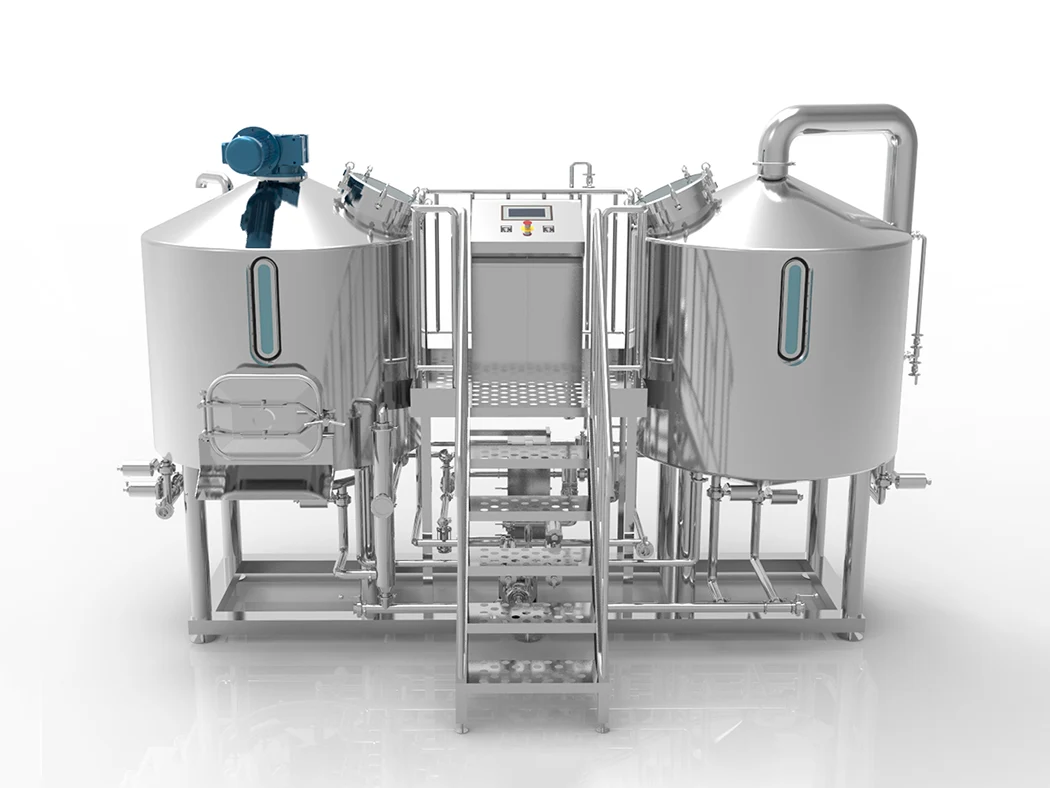
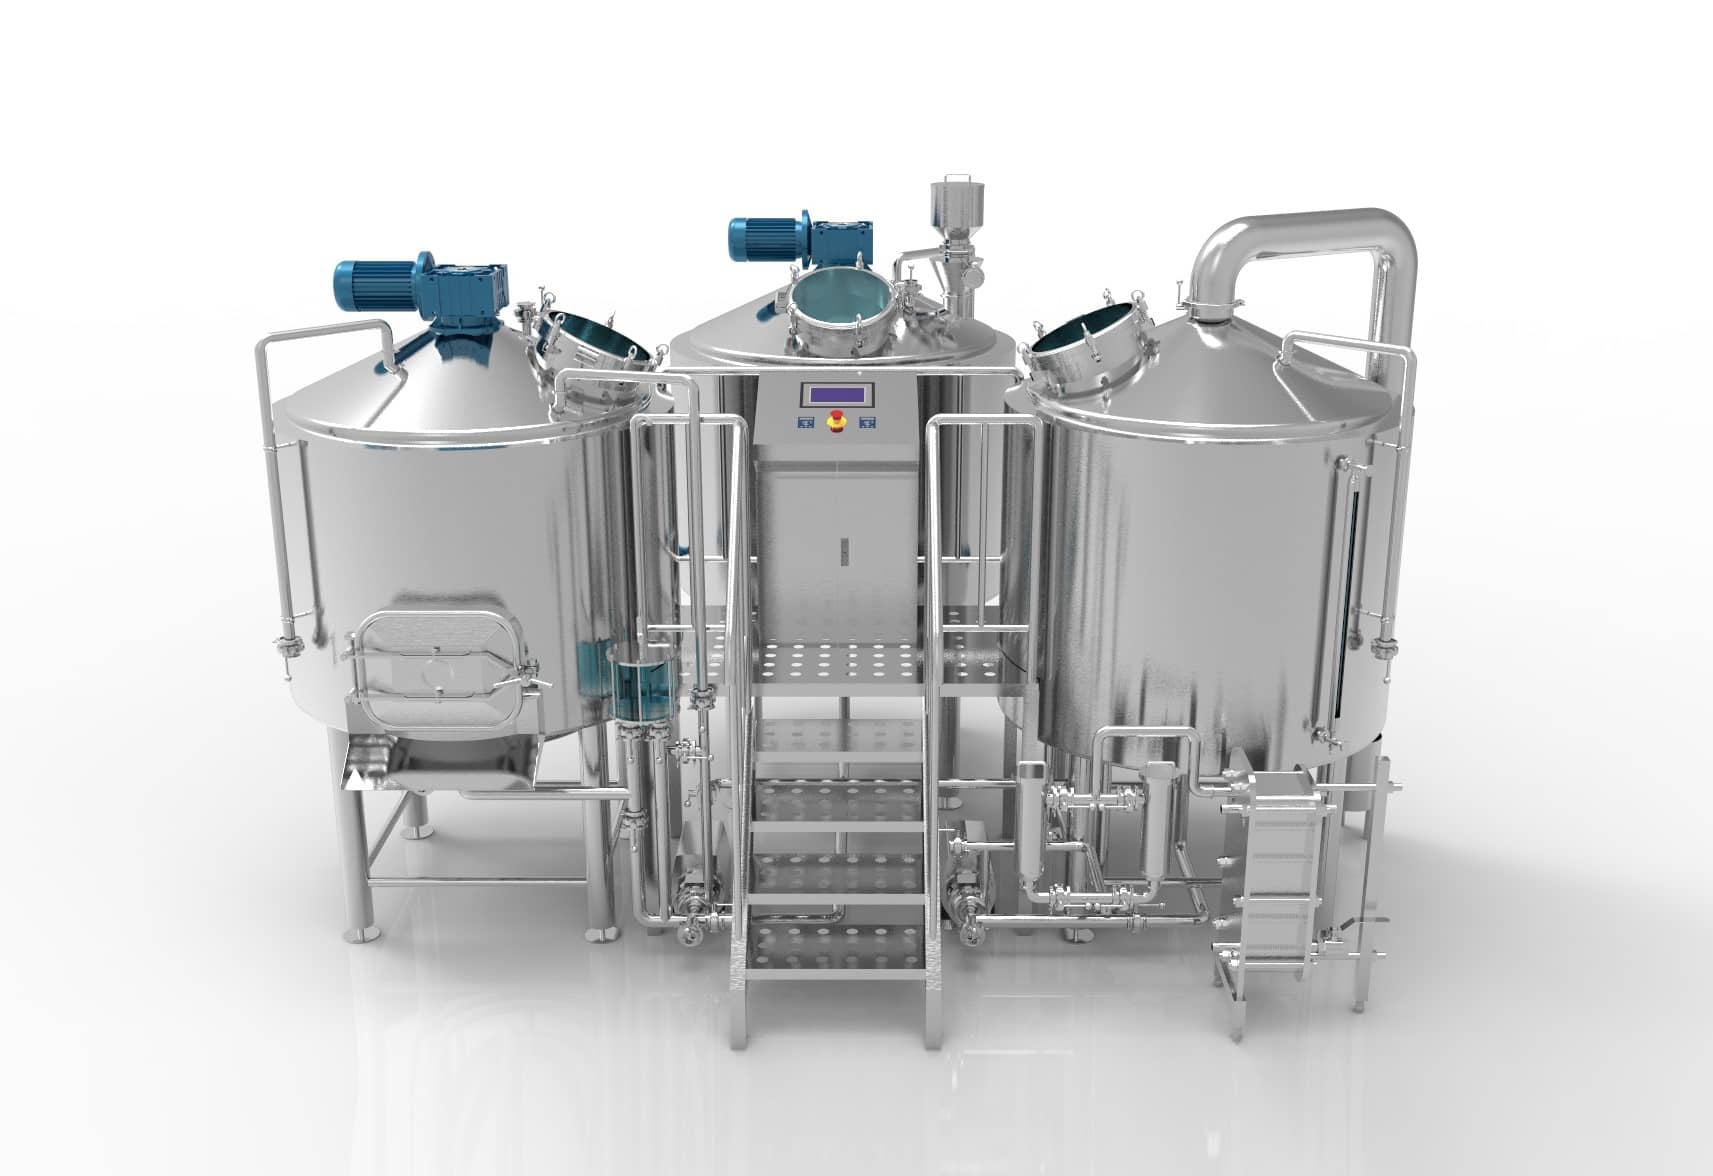
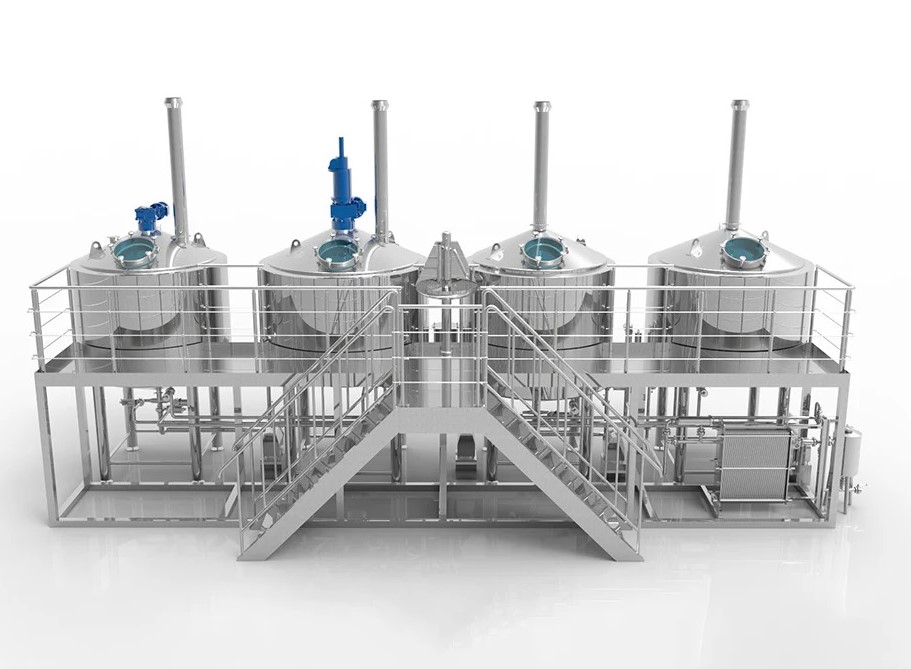

Every brewer is getting excited when he receives his new brewery tanks, and he can’t wait to try to produce amazing beers. But you can not just start brewing immediately, there are still a lot of work to do before you brew your first beers.
Tanks cleaning is one of the most important things to do before you start brewing any beer, as sometimes you might find uninvited surprises in your tank- Such as dust, residual water and even rust on the surface or tank ports. You have to know how to clean them properly to ensure the tanks are sparkling clean, otherwise you’re risking the first batch of your beer. Here’s some tips on how to clean the tanks. This is applied to any brewery tank smaller than 100bbl. Bigger tanks will need to be handled by a professional clean team.
We got the cleaning tips from a professional chemist and combined them with our years of experience. In general, you need to get the cleaning tools ready, learn the instructions and procedures, then get the cleaning work done.
The Cleaning Object
Stainless steel tank, stainless steel pipe (hard pipe) and hose (soft pipe)
The Cleaning Tools/Material Preparation
Get the tools ready first so you don’t waste your precious time.
- Safety Gear
- Pump with cycle pipes (CIP skid if available)
- Clean Water
- Heat Source to Heat the Water
- Citric Acid
- Dilute Sodium Hydroxide
- Hydrogen Peroxide Solution
- Phoshated, Silicated, and Oxygenated Non-Caustic Alkaline Cleaner
- 75% Ethyl Alcohol
General requirements
- pipe flow rated≥5m/s
- Check if there’s rubbish in the tank or the pipes, and clean it (duh).
- Make sure the safety device does work, such as PVRV valves on the fermenters. Also check the gaskets, end caps and valves to make sure there is no leakage and all the electric parts are working well.
- Protective measure – Protect your skin and eyes from touching any acids or caustic! You should wear clothes that can cover all your skin, including rubber gloves and shoes. If you don’t have it make sure to purchase it. If you do touch those chemicals by accident, clean it immediately with running water and use soda water and vinegar to neutralize it or go to hospital if the situation is worsen.
Cleaning Process
1) Stainless Steel Tanks and pipe line cleaning
First thing is to remove any machinery oil, road grim and dust, and the second thing is to do a conversion coating in your site if needed. Eventually we’ll need to clean the hose, the valves and the fittings. As there are many different recipes on how to clean the tanks, you can decide which procedures to follow according to your current state.
Part1) Machinery Oil, Road Grim And Dust Removal | |||||
Step | Process | Cleaning Chemical | Time | Temperature | Remark |
1 | Water cleaning | Hot water | 10-15min | 140-150 F | Wash residue and dirt |
2 | Caustic cleaning | 2-2.5% dilute sodium hydroxide | 30min | 175-195 F cycle cleaning | Remove machine oil, road grim |
3 | Water cleaning | Hot water | 15-30min | 140-176 F | Clean the caustic in the tanks |
4 | Acid washing | 12-13% citric acid | 30min | 120-130 F | Remove surface dust |
5 | Water cleaning | Hot water | 15-30min | 140-176 F | Clean the acid in the tanks |
Part 2) Conversion Coating Passivation If Needed | |||||
Step | Process | Cleaning Chemical | Time | Temperature | Remark |
6 | Acid washing | 12-13% nitric/phosphoric acid | 15-30min | 120-130°F | Passivation |
7 | Drain | / | / | / | Not Rinse |
8 | Caustic cleaning | 12-13% Phosphated, silicated and oxygenated non-caustic alkaline | 15-30min | 120-140°F | Conversion coating |
9 | Water cleaning | Hot water | 15-30min | 140-176 F | Rinse |
Part 3) Sterilization | |||||
Step | Process | Cleaning Chemical | Time | Temperature | Remark |
10 | Sterilization | 2-2.5% Hydrogen peroxide solution | 20min | 68 F Normal Temperature | Sterilizing for brewing and collect use as sterile water |
11 | Sterile water | Use the collected sterile water or made new one-35% Hydrogen peroxide solution, 1:3000 adding water mixing for 100min | 10min | Normal Temperature | Rinse and Clean |
12 | Sealing | / | Sealing pipe and valves tightly and ready for brewing | ||
2) Hose cleaning
- Cleaning with 1% dilute sodium hydroxide at 175-195 F for 15mins, then rinse with water
- A container with 1% hydrogen peroxide solution at normal temperature for 120 min
- Do not clean with copper fittings or chloride ion water, as the hose condition will be deteriorating
3) Valves and fittings cleaning
- Use a sprinkling can filled with 75% Ethyl Alcohol to clean the valves, gaskets and fittings when you assembly and replace.
4) Tank outside surface
- If the tanks’ outside surface is dirty, you can clean the stains manually by using some detergent that’s all. Try not to damage the surface with nasty scratches.
Above should follow in a reasonable time and procedures. If the cleaning process takes too much time it may cause a huge damage to the tanks.
Please take extra care when using citric acid and nitric acid in the cleaning process.
Now when that’s done you are ready to start brewing.